Hi everyone! This past Friday, after flipping through the {many} projects in my mental rolodex...Andrew & I picked one out to do together: Floating Shelves in the bathroom. Our inspiration came from here and here. Totally do-able over a weekend. We measured & planned Friday night {while tuning in to March Madness games...I actually care this year because I made a bracket!} On Saturday after breakfast, we got to work.
HOW WE DID IT
- We drew up a schematic and Andrew calculated how much common wood we would need to buy & what would need ripped
- We cut everything to size with our Craftsman miter saw - it rocks
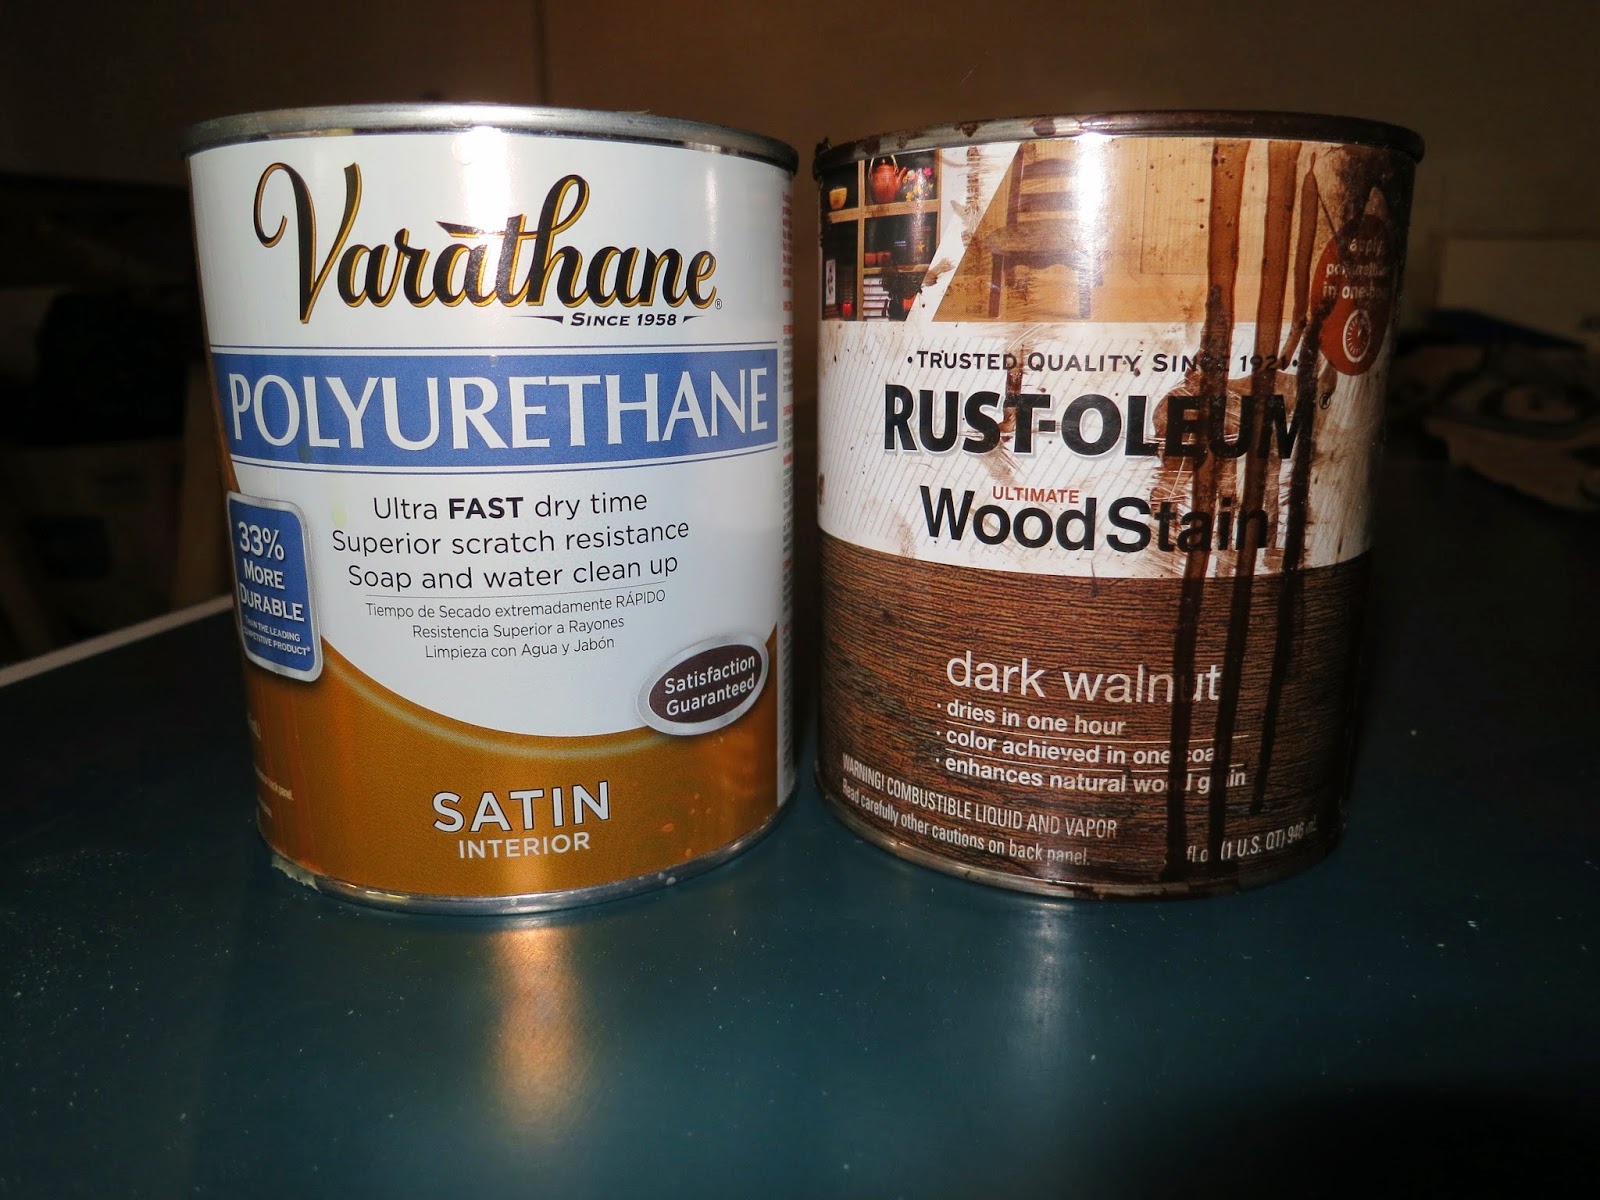
- The visible parts of the shelving were stained with Rustoleum, then a layer of Varathane polyurethane
- After the inner support beams were cut to size, we fixed them to the inner frame with wood glue
- When they were dry -approx 30 minutes- we screwed them into the studs {BONUS!} they were level!
- When the stain & poly on the outer shelving was dry, we glued the top & bottom pieces to the frame with wood glue and clamped them in place to cure
- Lastly, we glued the front facade on to the existing frame to cover up the inside {we used the air nailer on the sides for added support}
- Final touch? DECORATING!
PICTURES OF THE PROCESS
It goes a little something like... repaint the fireplace, build a custom closet for Andrew, re-do the deck, paint the picnic table, refinish antique dresser for our bedroom, make a "mudroom" by the garage door, brick the front stoop, establish raised garden beds, make a breakfast nook in the kitchen, paint the banister…
What parts of your home could use a little sprucing up?
Keep creating DIYers!


Wow, your shelves look great!!! I'm so glad you found it to be fairly simple! They make such a huge difference :) Thanks for linking back to my blog!
ReplyDeleteThanks! Your post was super helpful & I'm loving catching up on the projects you've blogged!
DeleteBeautiful :) I love the ampersand!
ReplyDeleteThat ampersand was a decoration at one of my wedding showers, and I have been saving it because I knew it would eventually come in handy again. Turns out these shelves are a perfect spot for it!
Delete