Showing posts with label wood projects. Show all posts

Tuesday, March 10, 2015

Floral Pallet Art

Hi everyone! Last month's contest ended - thanks to everyone who participated!
The "Mystery Project" was revealed to be pallet art, so our winner received a mini pallet of her own:


I'm here today to teach you how to make it! You'll need:


  • wood planks
  • floral paper napkins
  • modpodge & brushes
  • sand paper or a power hand-sander


{First} Take your napkin. Carefully pull the back 2 layers off, leaving a thin sheet with the floral design on it. The middle layer might be tricky to get off, but I swear it does - so be patient.

{Second} Brush modpodge on the wood plank, and lay your napkin on top. Gently pat and smooth it with the pads of your fingers to remove air bubbles and wrinkles. It can tear really easily here so don't get crazy. This step takes the longest because now you need to let it dry completely. At this step, this is how your wood should appear:


{Third} Now that things are all dried up, you will be sanding to distress your wood to perfection! This makes the floral design sort of "melt" into the grain of the wood and produces the look we want. After sanding, the floral images will be dulled with softer edges, and some of the wood may peek through. Here are some side-by-side comparisons of the same napkins before & after sanding:


And that's it! The possibilities with this are endless. Picture frames, furniture, recipe boxes, wall art… you name it. I'm on the hunt for a bunch of old picture frames {without the glass} so I can cut a series of my planks to size & frame them. What would you do with yours?

Thanks for tuning in, and have a great Tuesday!

Saturday, January 17, 2015

How Far We've Come

Well, the painting is over for a while. And the microwave is installed. With so much more to do, sometimes I forget how far we've come. I've tried to take pictures along the way to help jog my memory. Speaking of photos - I'm totally amateur. I envy other blogs with super crisp, flawless images. {You will not find such things here.} Okay, on to the mediocre photos.


The new shelf sits on L-brackets that are bolted to the adjacent cabinets. The microwave is attached to the shelf with screws. The microwave is also supported from behind by a steel brace that's been screwed into the studs. Andrew did a great job on converting the outlet, fitting the shelf & drilling holes for the electric. The cord for the microwave comes up through a hole in the shelf and plugs into the new outlet.

Here is what the outlet situation looks like:


The island is finally put back together, too. Remember, the flooring and counters still need addressed. Currently I'm just happy that all the crap on the counter in the lefthand picture is no longer in existence. {That stash makes us look like contenders for a hoarder show. Geeze} It's been replaced by our collection of cookbooks.


Let's see…what else? Oh yeah, this light! Here's a shot of our light above the sink:


That about sums things up for now. Today while I was at work, Andrew got subway tile samples at Lowe's. I was worried about the whites not looking right together. White is just about the dumbest paint color family because there are 1,958,711,245,987,902 versions. Matching can become very overwhelming. Or not even matching…just trying to make sure things don't clash. As luck would have it, the samples look great & Andrew is happy because they get good reviews online. High-fives all around.

Thanks for stopping by Old Elm today, you were lovely virtual house guests.

PS: While the paint was out, I kept having these 'why the heck not!' thoughts. 
As a result, here is a mini-transformation of my antique library table:

Wednesday, December 3, 2014

Fireplace Facelift


This is how we gave our builder-grade oak fireplace an amazing facelift for under $200:
  1. Plan. Measure from the mantle to the ceiling for the 4 vertical beams. Take 1 horizontal measurement for the top. 
  2. Purchase. Take your measurements to the hardware store and buy your wood. I got plain oak 1x3 beams at Lowe's for $10-$15/each. {Truthfully, I did this backwards. I bought my wood and then measured when I got back home. It was an impulse buy that paid off!}
  3. Prep. Throw down a drop cloth. Cut your wood pieces to size and nail them into place. Andrew did this with the air nailer. I patched the indentations with wood filler. Now prime - I used Valspar Bonding Primer {You don't even need to sand!}
  4. Paint. Tape off & get to work. I gave the fireplace two coats of "Dove White" satin finish.


The paint instantly transformed things. I did it on my day off while Andrew was at work. When he came home, he was impressed. To spice things up, we wanted to add AirStone to the fireplace surround. AirStone comes in three colors. We chose Stone Creek which is a mixture of light & dark grays, and applied it directly on to the existing tile surround.

This part was the most difficult portion of the project. The stone pieces come in various rectangular and squared off sizes, and the box states that you can cut them to size easily with a hack saw. No sweat. Well, it was actually A LOT OF SWEAT. Poor Andrew. I was the foreman of this job and gave him the pieces with measured notches on them, and he had to do the cutting. He probably needs a new rotator cuff now.

Once the stones were cut to size, I used the adhesive cement and applied the pieces. We ended up having to buy two boxes at $26/each. {One box covers 6 sq. feet} We used one entirely & just a few from the other box. I guess we can save the extra and maybe find a purpose for it somewhere down the line.

We are really pleased with the final facelift, and how much character it adds to the family room. Even though the stone was harder to cut than we originally thought it would be, we were still able to get this project done relatively quickly. I wanted the fireplace to be finished in time for Christmas, and we achieved that goal. The paint worked really well, so I plan to take it around the house and paint all of the oak trim, window casings & stair banisters. Which I'm sure will take an eternity…


Thanks for reading about our latest project!

PS: Wondering what happened to the mirror that used to hang over the mantle? We relocated it to our bedroom. It now hangs above our bed and we think it looks top-notch.

Friday, November 14, 2014

The Hanging of the Corbels

The antique corbels have been hung. We used some dabs of wood glue and the air nailer to secure them in place. There was a small period of time where the nailer was malfunctioning and I was standing on a chair holding the corbel in place while the blood slowly drained out of my arm…but that temporary discomfort soon passed. Andrew quickly scanned the manual, corrected course, and we were able to step back & admire the finished product.
{Take a look}


You'll notice the light hanging in the left of those pictures. We do not like it. We want to replace it with a traditional black lantern. It can't be too large or hang down too low or it will bonk people on the head. We've yet to find a suitable option. The hunt continues.

Keep creating, DIYers!

Thursday, September 4, 2014

Phase III - The Rebuilding Process

Can we all just take a minute to appreciate the fact that rebuilding a deck is hard? Maybe not if you are in construction by trade...but hard for a biologist (Andrew) and a nurse (me). But that will not stop Team Farber! I'm a sucker for doing things myself and so is Andrew. It takes a lot for us to want to wave the white flag & pay a professional. Sure, we'll gripe a little along the way if the project isn't coming together as envisioned. But fact of the matter is, we love the feeling of admiring the finished product we made with our own two (four?) hands {and the hands of others who pitch in. Fist pump for the pitcher-inners!}


Andrew & I originally set out this summer to completely renovate the back yard. We built and planted a raised garden bed, leveled earth and laid a paver patio, and last but not least: THE DECK. So here we are in September, with Fall peeking right around the corner...and we basically blew our original deadline. Yep. Blew it. But are we 80% finished? Heck yes we are.

Things have been kind of weird & unpredictable this summer with regard to inclement weather. Rain kept pushing work on the deck back a day...back a day...back a day. Well summer is made of days, and we started running out! Additionally, we like to get off the property every once and a while for date nights, baseball games, mini-golfing, ice cream runs, bonfires & cookouts with friends. Those are all crucial parts of summer, too.

Luckily, we did some major damage on the deck over the three-day Labor Day weekend. The deck boards and 4x4 posts were already in place. Andrew and I spent the majority of Monday building the railings. 11 sections with 6-7 spindles each. At the end of the day, his wrist was numb from drilling and my thighs were burning from squatting & holding wood plumb with the level. But we felt totally accomplished & went out for celebratory wine and eats at Gervasi!

Everything is coming together and looking even better than we had hoped. All that remains is installing the railings and adding the two sets of stairs. The end of the Farber Backyard Update is in sight. When we're totally finished, we want to have a big bash to celebrate our new outdoor spaces.It will be nice to sit back and appreciate all of the hard work!

Thanks for reading!

Monday, July 28, 2014

Phase III- Deck Demo

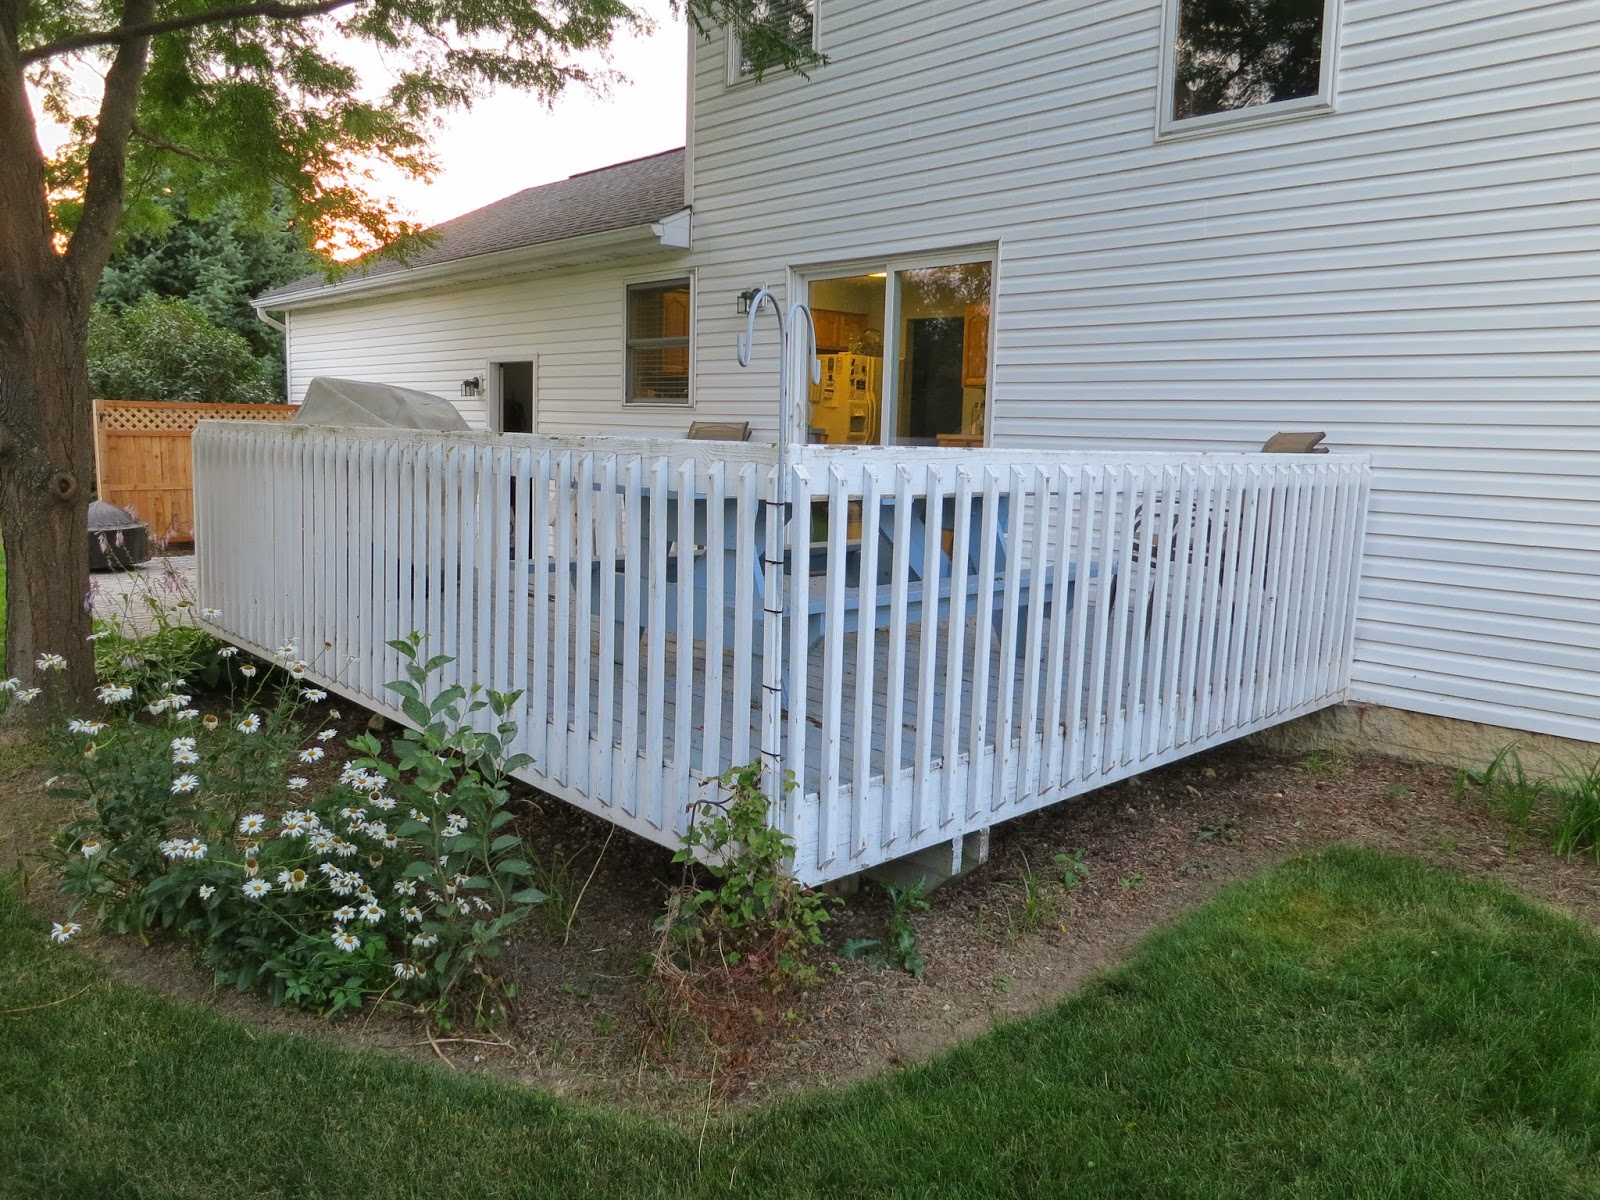
The last portion of our "backyard renovation" is replacing our deck. The current deck measures 12 x 16 feet and has one set of stairs on the side closest to our paver patio. The deck is probably as old as the house, and the previous owners had it painted blue and white. After this past winter, followed by a rainy Spring and Summer, it was showing considerable wear. We're going to replace the boards, add a second staircase, and go with a slightly different style of railing. It will still be 12 x 16.

With the help of Andrew's dad, we tore up the deck on Saturday morning. The underlying frame is still in great condition, and since it doesn't experience weathering like the top, we are choosing to keep it. The guys used crowbars to pry up the boards and I hauled them to the trailer. The process was pretty quick - it only took us 3 hours. The most tedious part was pulling the old nails out of the frame with pliers. We plan to buy lumbar and get building within the next two weeks. Here are some pictures of the old deck:


Saturday, June 21, 2014

Outdoor Pallet Bar


The pavers we got for our patio were delivered on two pallets. I recently pinned an idea using two pallets to make a cute little outdoor bar. I told Andrew about it, and he agreed this would be a great & inexpensive project for us - the best part is we feel ok leaving the finished product outside year round.


Andrew stood the pallets up and screwed them together for stability, and we bought 4 square pavers to put on the top. I painted the pallets with a durable outdoor paint. I chose the color "Firecracker" by Valspar. {Fun name!} 

To make the top sturdy and level, we did add a few shim boards...but other than that, this project was fast & easy. 

It's a nice addition to our patio, and a good place to set plants or pitchers of iced tea. We love the little pop of color!

Making things out of pallets is such a cool trend, thanks for reading about how I used mine!

Keep creating, DIYers!

Monday, June 16, 2014

Patio Reveal

Andrew and I worked super hard, and now we can reap the benefits. Here are the before & after shots of our new back patio. We look forward to the memories that will be made here now and for years to come!

Here is the space BEFORE:

And here it is NOW!


Tuesday, May 6, 2014

Phase I - Raised Garden Bed

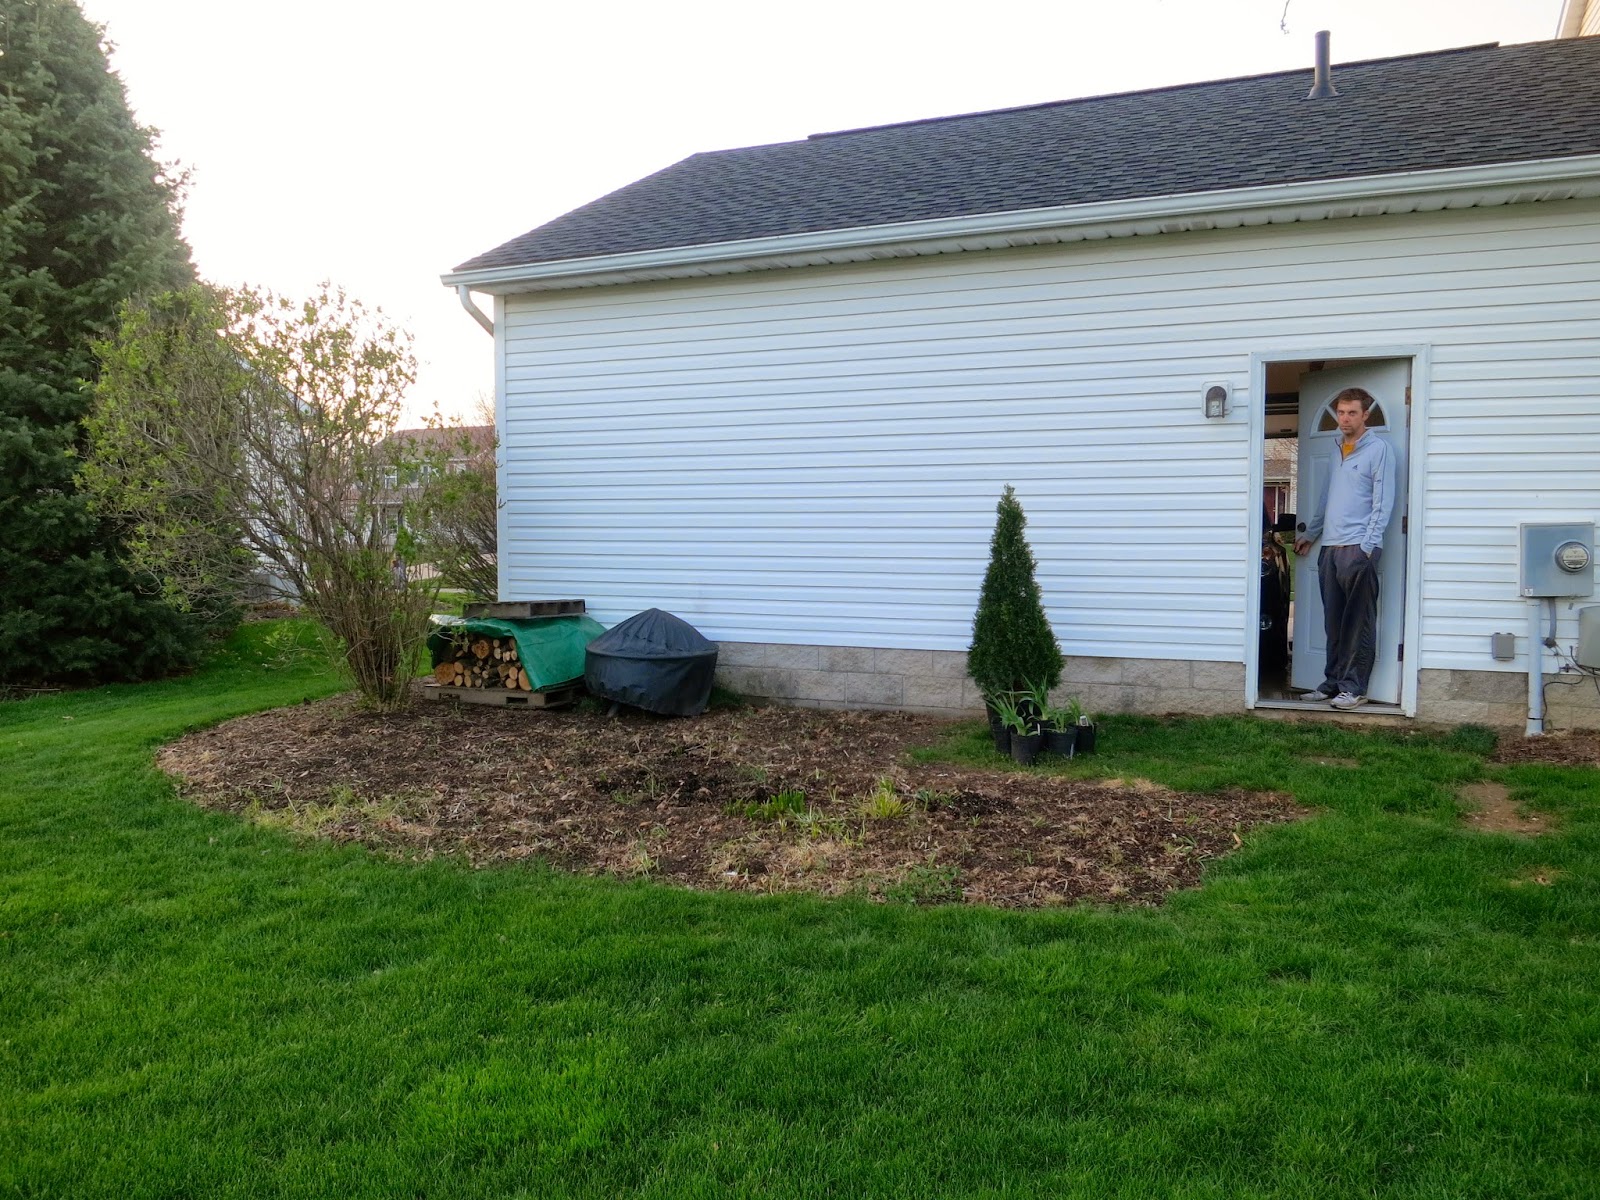
The weather was decent over the weekend, so on Saturday we built the frame for our raised garden bed.  Phase I of Farber Backyard Update is almost complete! It's a 4x8 foot rectangle made of cedar wood, which is naturally resistant to rot. The sides are 12 inches tall. We cut two sheets of metal mesh for the bottom {to keep digging critters out} and the 6 support stakes extend past the frame and into the ground for stability. I also planted a 4 foot arbor vitae & 5 day lilies near the garden bed on Sunday. We still have some more minor landscaping to do around it, but for now we're just glad to have the frame in place, ready to hold some dirt. We look forward to planting our garden sometime after Memorial Day weekend. Here are some pictures of our process: