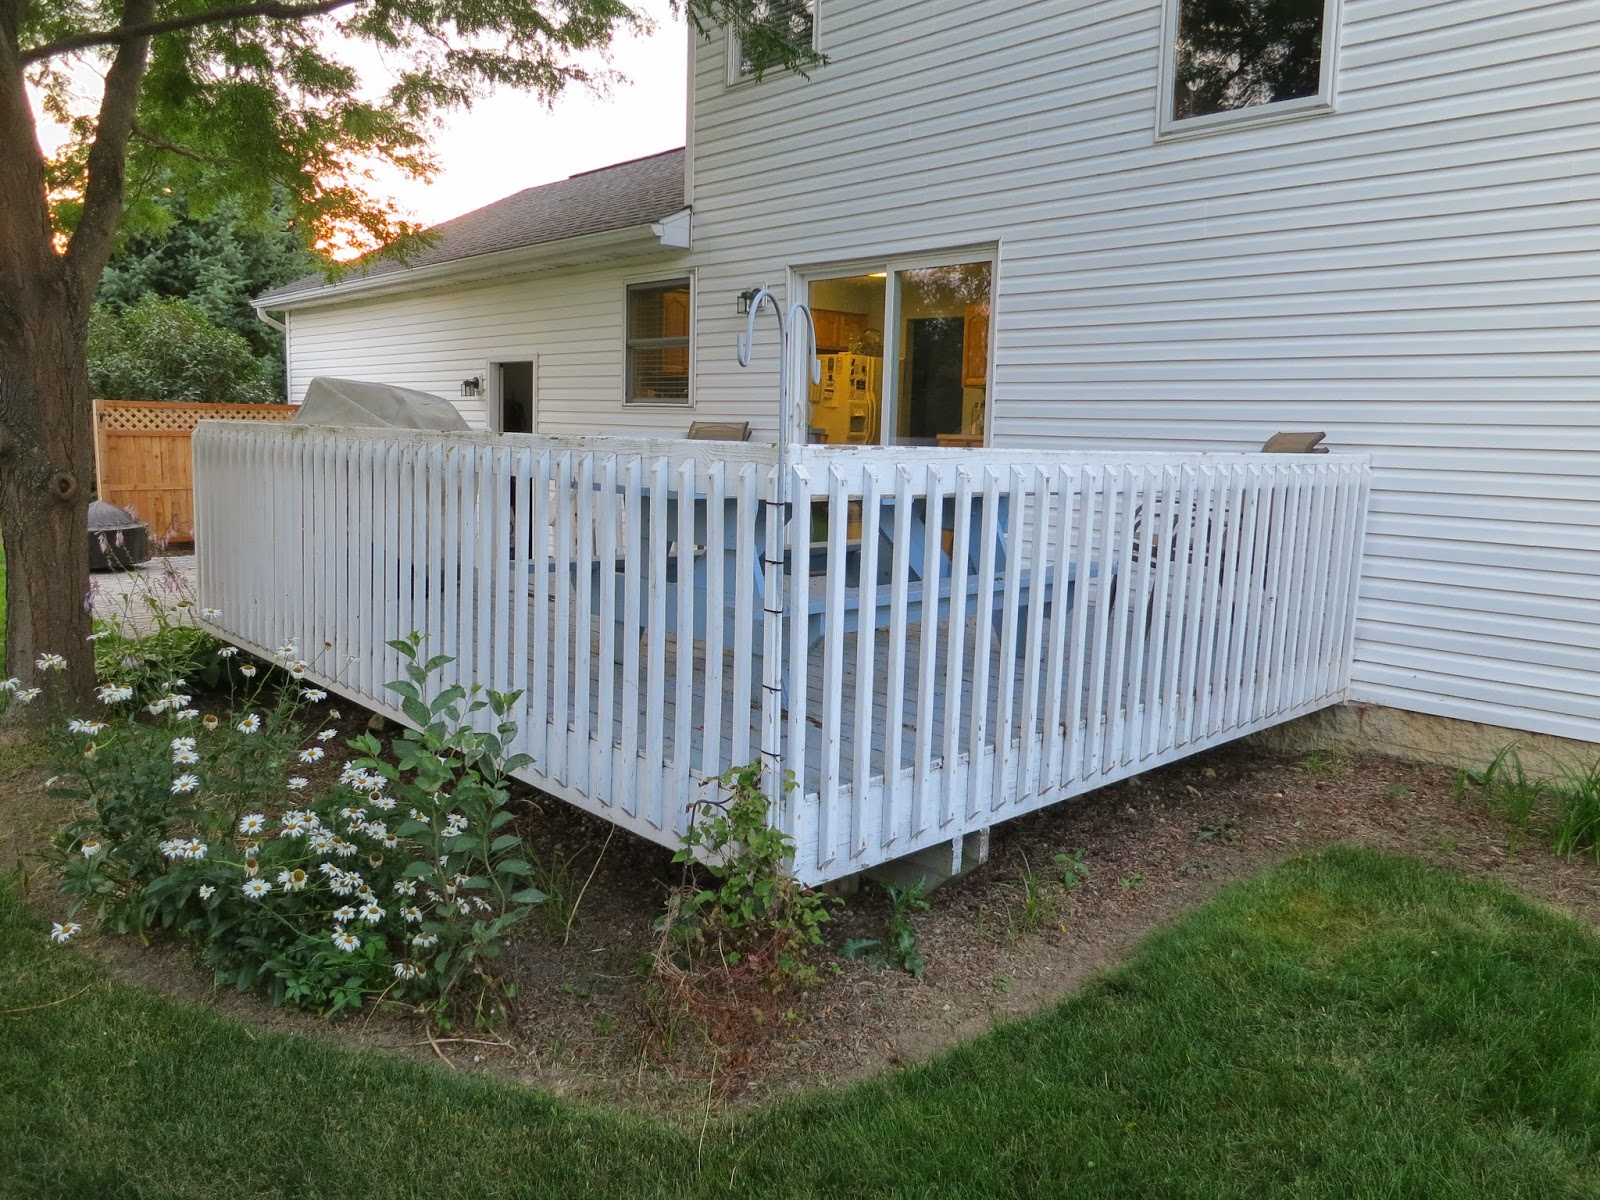
With the help of Andrew's dad, we tore up the deck on Saturday morning. The underlying frame is still in great condition, and since it doesn't experience weathering like the top, we are choosing to keep it. The guys used crowbars to pry up the boards and I hauled them to the trailer. The process was pretty quick - it only took us 3 hours. The most tedious part was pulling the old nails out of the frame with pliers. We plan to buy lumbar and get building within the next two weeks. Here are some pictures of the old deck:
Monday, July 28, 2014
Phase III- Deck Demo
The last portion of our "backyard renovation" is replacing our deck. The current deck measures 12 x 16 feet and has one set of stairs on the side closest to our paver patio. The deck is probably as old as the house, and the previous owners had it painted blue and white. After this past winter, followed by a rainy Spring and Summer, it was showing considerable wear. We're going to replace the boards, add a second staircase, and go with a slightly different style of railing. It will still be 12 x 16.
With the help of Andrew's dad, we tore up the deck on Saturday morning. The underlying frame is still in great condition, and since it doesn't experience weathering like the top, we are choosing to keep it. The guys used crowbars to pry up the boards and I hauled them to the trailer. The process was pretty quick - it only took us 3 hours. The most tedious part was pulling the old nails out of the frame with pliers. We plan to buy lumbar and get building within the next two weeks. Here are some pictures of the old deck:
With the help of Andrew's dad, we tore up the deck on Saturday morning. The underlying frame is still in great condition, and since it doesn't experience weathering like the top, we are choosing to keep it. The guys used crowbars to pry up the boards and I hauled them to the trailer. The process was pretty quick - it only took us 3 hours. The most tedious part was pulling the old nails out of the frame with pliers. We plan to buy lumbar and get building within the next two weeks. Here are some pictures of the old deck:
Sunday, July 27, 2014
Bread & Butter Pickles
Ingredients
+ pickling cucumbers
+ 1 small white onion+ 2 Tbs salt
+ 1 cup white vinegar
+ 2 cups white sugar
+ 1 Tbs mustard seed
+ 1 Tbs celery seed
This recipe doesn't require processing in boiling water like typical canning. As long as you have some containers with lids, you are good to go. Homegrown cucumbers make this a $0 Project. Here's how I did it:
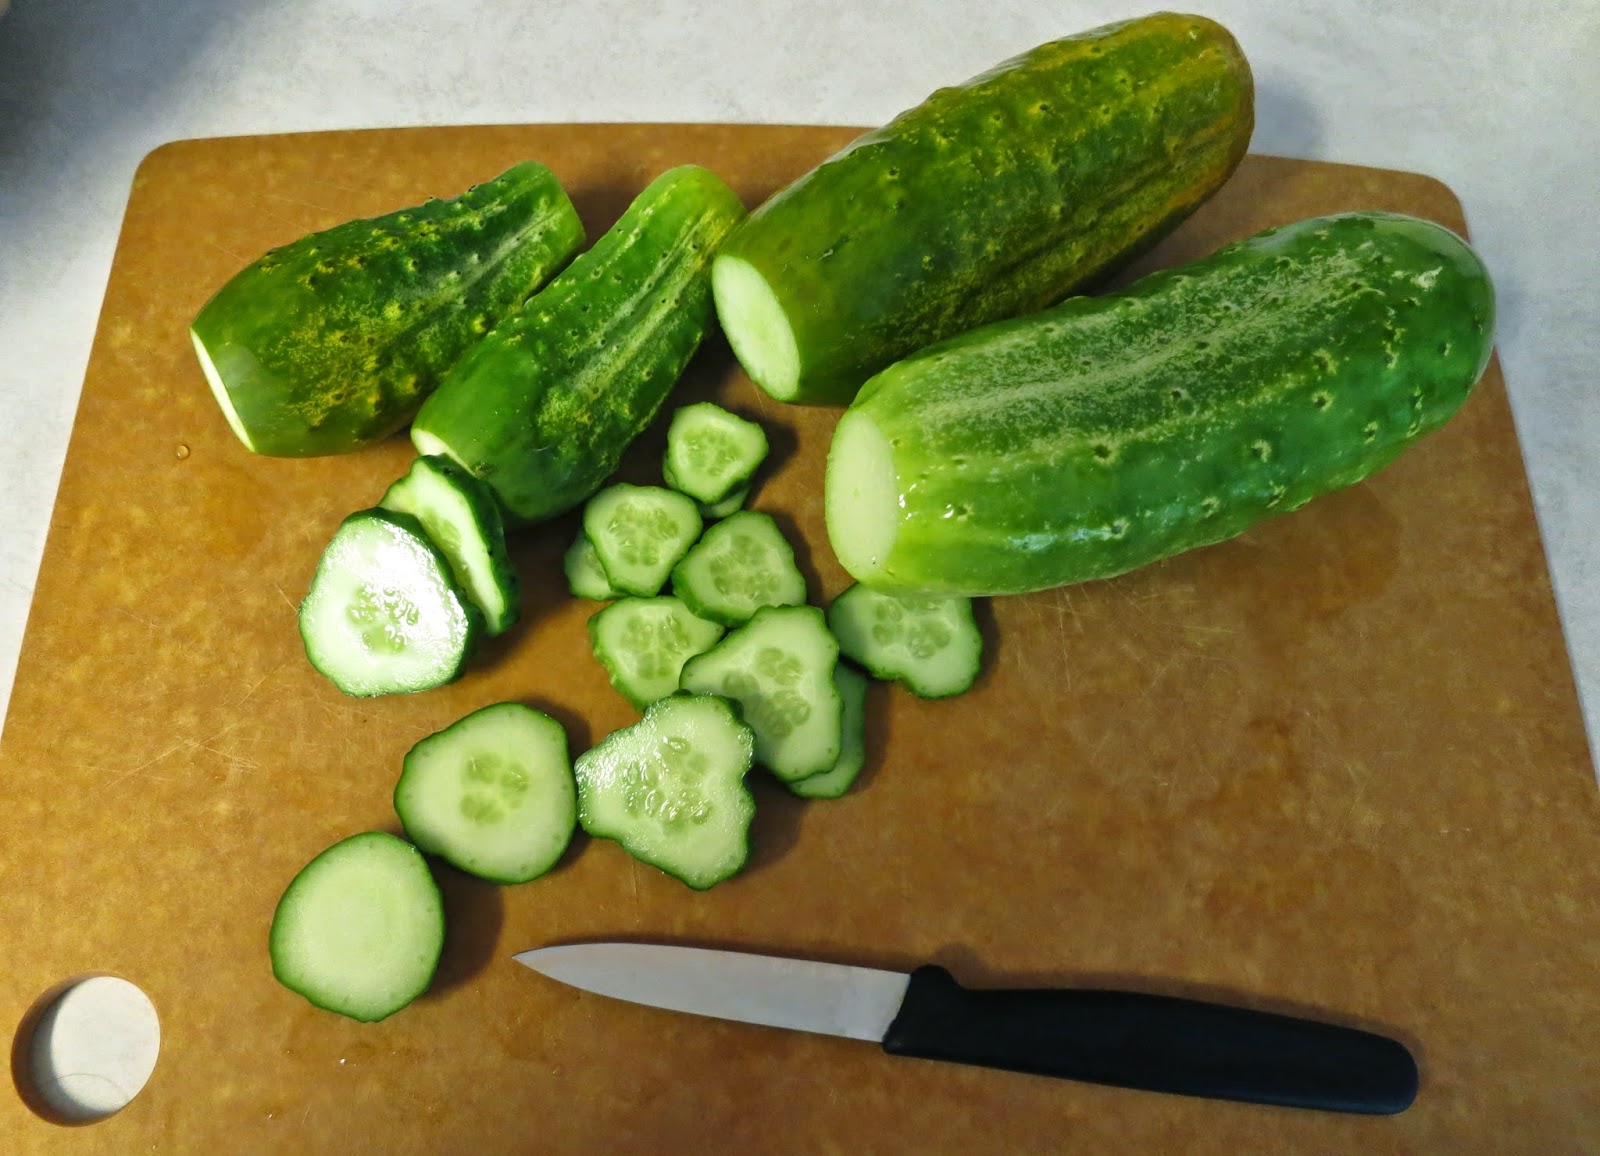
First, I washed and sliced up the cukes.
Next, the cucumbers went into a pot with the sliced onion and salt.
I set that pot aside and combined vinegar, sugar, mustard seed and celery seed to a saucepan.
This was heated until the sugar was dissolved.
Then the liquid was poured over the cukes & onions and placed in the fridge for 24 hours.
The following day I divided the mix into mason jars. I sampled a pickle, and it was crisp, tangy goodness! Jars should be stored in the refrigerator.
Everything tastes better homegrown. Thanks for reading!
Friday, July 18, 2014
Garden Update
Hey everyone!
I haven't posted in July at all yet - it's been a busy month! We enjoyed a 10 day vacation at Holden Beach, NC with my family {such a wonderful time!} and when we came home, we had a little bit of fresh produce to greet us: 3 cukes, a jalapeño, and some beans. We're still eagerly awaiting our tomatoes, and as you can see, they are on their way.
Hopefully you are all enjoying summer!
PS: The cucumber plant has almost entirely taken over the garden - which is good & bad. It will likely choke out the peppers, so we aren't expecting (m)any of those. But hey, this is our first season and we're learning. Next year we may create a different planting plan, but for now we're rolling with the punches & looking forward to making some bread & butter freezer pickles!
Subscribe to:
Comments (Atom)


