Showing posts with label $0 projects. Show all posts

Wednesday, February 11, 2015

Pallet Bookshelf

Good morning! Today I want to share with you a {FREE} project that I tackled last week - Adding pallet wood to the back of an old bookcase. It turned out just as I envisioned and gave new life to two old things. Check it out!


First I disassembled my pallet. I wore gloves to avoid splinters and used a crowbar, hammer & my hands to pull it apart. Time consuming but worth it!


Next I used the hammer to pull out the old rusty nails. Should you decide to do this too, the nurse in me wants to make sure you have an up-to-date tetanus shot.


Be careful not to break your slats of wood. I had two that splintered apart, but plenty left over for my bookshelf. Work mindfully. Slow and steady wins the race.


Last, I used our miter saw to cut the slats the same width as the bookshelf. Then I lined them up and nailed them into place. All finished and looking good!


This was an excellent project. I'm not totally sure what we'll end up doing with the bookshelf, so for now it's un an empty spare room upstairs. Feel free to replicate my efforts! 

<<< To see a more comprehensive shot of the finished product, click this photo to the left to enlarge.

Thanks for reading the blog today &  have a splendid Wednesday!


Friday, November 7, 2014

Brown Bag Wreath

$0 Project Alert! This one's free & fun. Just ask for paper bags next time you're at the grocery store. You will have to pay for the groceries…

Wreaths are a pretty way to decorate your home, indoors or out. I never really paid that much attention to wreaths until I had my own house, and then I developed an appreciation. I saw one like this on a friend's Instagram and figured it would be pretty simple to make. Easy, quick decoration for that {limbo} period in between Halloween & Christmas. Especially if you're like me and don't have much Thanksgiving decor. After I put away all of our ghosts & jack-o-lanters, I'm always at a loss. It's too soon for Christmas stuff! To fill the void, I settled on a few of these wreaths and a set of neutral pumpkins for the mantle. This should tide us over until I bust out all of the red & green at the end of the month.


First I cut the cardboard into circles. I traced bowls from the kitchen to make sure the circles were exact. Then I drew 1 leaf on the paper bag and cut it out. I used this leaf as a template to trace the rest. After cutting all of the leaves out, I made a crease in the center of each by lightly folding. Then I began gluing the leaves to the cardboard circle. I started at the top and went clock-wise until I reached the end. To hang, I tied a length of ivory ribbon to each.


I bet making one big wreath for the front door would be really sharp looking, too. Obviously I would need bigger pieces of cardboard for that! {Something to keep in mind for the future} For now, I'm satisfied. And I don't want to go overboard by putting homemade wreaths all over the place in the house - I'll get a reputation!

Thanks for following along.
Keep creating, DIYers!

Friday, August 1, 2014

Seashell Crafting

This summer we went on a family vacation to Holden Beach, NC. The last time we were all able to go as a family was 9 years ago, so I was anxious to get back. We had a great time and collected tons of good shells. My mom and I got together to craft with some of them {we have bags and bags...not kidding when I said a ton!} We made shell garlands and decorated picture frames. I think everything turned out great, and it was fun to reminisce and chat while we worked.

The shell garland is absolutely a $0 Project. Just grab some fishing line and start stringing shells! Keep a loop at the top, or even both ends, for easy hanging. My mom has always loved making these, so we are in the habit of specifically hunting for shells with holes.


For the picture frames... we picked our favorite shells, tiny delicate ones, pieces of coral, drift wood & pretty bits of broken shells. We arranged them in the corners of our frames and secured them in place with my hot glue gun. Now we'll be able to see them on a daily basis and it will remind us of what a fun trip we had. I just need to get around to printing a picture to place inside of mine! 


Thanks for checking in! Keep creating DIYers!

Sunday, July 27, 2014

Bread & Butter Pickles


Ingredients
+ pickling cucumbers
+ 1 small white onion
+ 2 Tbs salt
+ 1 cup white vinegar
+ 2 cups white sugar
+ 1 Tbs mustard seed
+ 1 Tbs celery seed


This recipe doesn't require processing in boiling water like typical canning. As long as you have some containers with lids, you are good to go. Homegrown cucumbers make this a $0 Project. Here's how I did it:

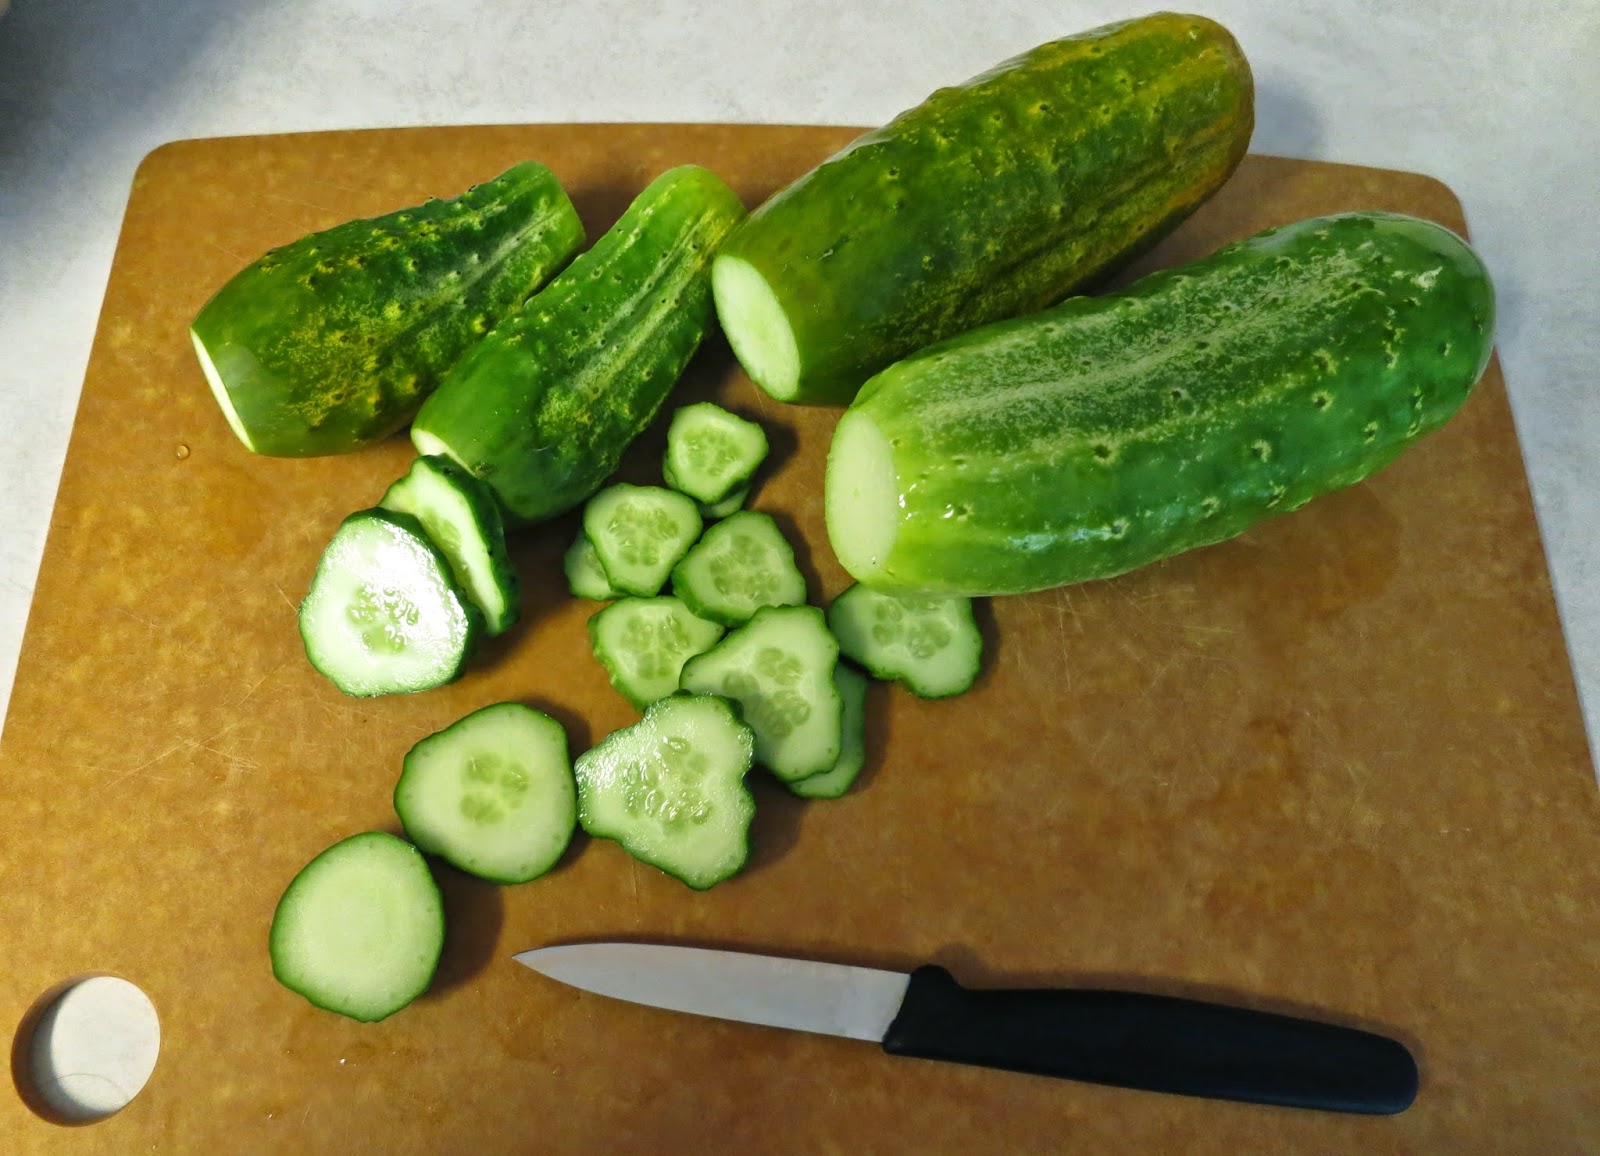
First, I washed and sliced up the cukes.


Next, the cucumbers went into a pot with the sliced onion and salt.


I set that pot aside and combined vinegar, sugar, mustard seed and celery seed to a saucepan. 
This was heated until the sugar was dissolved. 


Then the liquid was poured over the cukes & onions and placed in the fridge for 24 hours.


The following day I divided the mix into mason jars. I sampled a pickle, and it was crisp, tangy goodness! Jars should be stored in the refrigerator.


Everything tastes better homegrown. Thanks for reading!


Wednesday, April 23, 2014

How to Upcycle Glass Jars


Empty jars from jelly, spaghetti sauce, minced garlic, honey, wine... you name it. Whenever I'm washing one out, something snaps inside of me & I save it instead of putting it into our recycling. {Every time!} The way I see it, why waste a good container for a future craft? Today's $0 Project is about how to remove the sticky labels from your jars so you can upcycle them into something new & fun!

up·cy·cle [uhp-sahy-kuhl]
verb (used with object), up·cy·cled, up·cy·cling.
1. to process used goods or waste material so as to produce something that is often better than the original

Fill a sink with hot water & place your bottles/jars in until they're fully submerged. Add 1 Tbsp dish soap, 2 cups vinegar, and 1/2 cup baking powder {powder, not soda}. After the fizzing subsides, the labels should peel right off the glass. I let mine sit for 2 hours while I was out at the store. If the paper comes off but the glue is still there, I resort to Goo Gone to fully remove the residue.


Now that your jars are label-less, here are some upcycling ideas:

SUGAR SCRUB Sugar + dish soap = homemade sugar scrub.  Click here to fill your jar with this simple {but luxurious!} skin exfoliating DIY tutorial by me. You can experiment with different soap scents and try adding essential oils. It really doesn't get any easier than this!

CITRONELLA CANDLES Melt plain or colored {but scentless} wax chips in a heat resistant bowl over a saucepan of boiling water. Add a few drops of citronella essential oil to the wax. Place a wick in your jar, then pour in the wax. Let the wax firm & you have yourself a cute candle that will repel pests on the patio.

MINI TERRARIUM Fill your jar in this order: rocks, charcoal, potting soil. Then add plants, sticks & succulents. The charcoal helps contain moisture and stave off mold. Looking for things to add? Collect from your yard. {No bugs allowed!}

DRINKING GLASSES Fill your sink with cold water. Soak a string of yarn in nail polish remover & tie it around bottle. Light the string on fire & let it burn for about 15 seconds. {Don't burn yourself!} Dip the bottle in the sink, and the glass will split where the yarn was. This is especially fun to do with bottles that have etched or painted labels that are directly on the glass.

SELF WATERING WINE GLASS PLANT Follow the steps above, but save the top piece. Fill the bottom {cup part} with water. Thread some string through the neck of the bottle so that it hangs out both ends. Put your dirt & seeds in the inverted top piece, then place it on the bottom piece {neck will be facing down}. The string will wick the water up & nourish your plant. Just don't forget to replenish the water supply as needed!

STORAGE Andrew has a few jars near his tool bench with spare nuts, bolts, nails, and screws; I have my own collection in the kitchen for chocolate chips, sprinkles & raw sugar for my tea; and there is a jar on our bathroom counter filled with q-tips & cotton balls. Use glass jars to spice up storage of otherwise boring items!

In short, empty jars = endless possibilities. I plan to do a post on each of these ideas in between all of the Spring DIY we have going on around our house {new back patio, deck & landscaping} Stay tuned & Keep creating! 

What are your ideas for upcycling glass containers?

Thursday, April 3, 2014

Paint Chip Art

Hey! Thanks for joining me here. This is my first post for a new series:

Sometimes I really have the urge to make something, but maybe I can't get to the store or I'm trying to be good & save cash. Enter $0 Projects! If you put your mind to it & get thrifty, you can make some pretty cool stuff using things you already have.

--------------------------------------------------------------------


Known fact: hardware store paint chip samples are free in all 50 states of the U-S-A. What does that mean for you? It means get to the hardware store & start grabbing good colors, because we're about to make some art!

WARNING! When walking out of the store, you may feel like you just stole something. But you didn't! The creative part will soon be underway - getting home and cutting {or paper punching} your chips, then arranging them on paper or canvas.


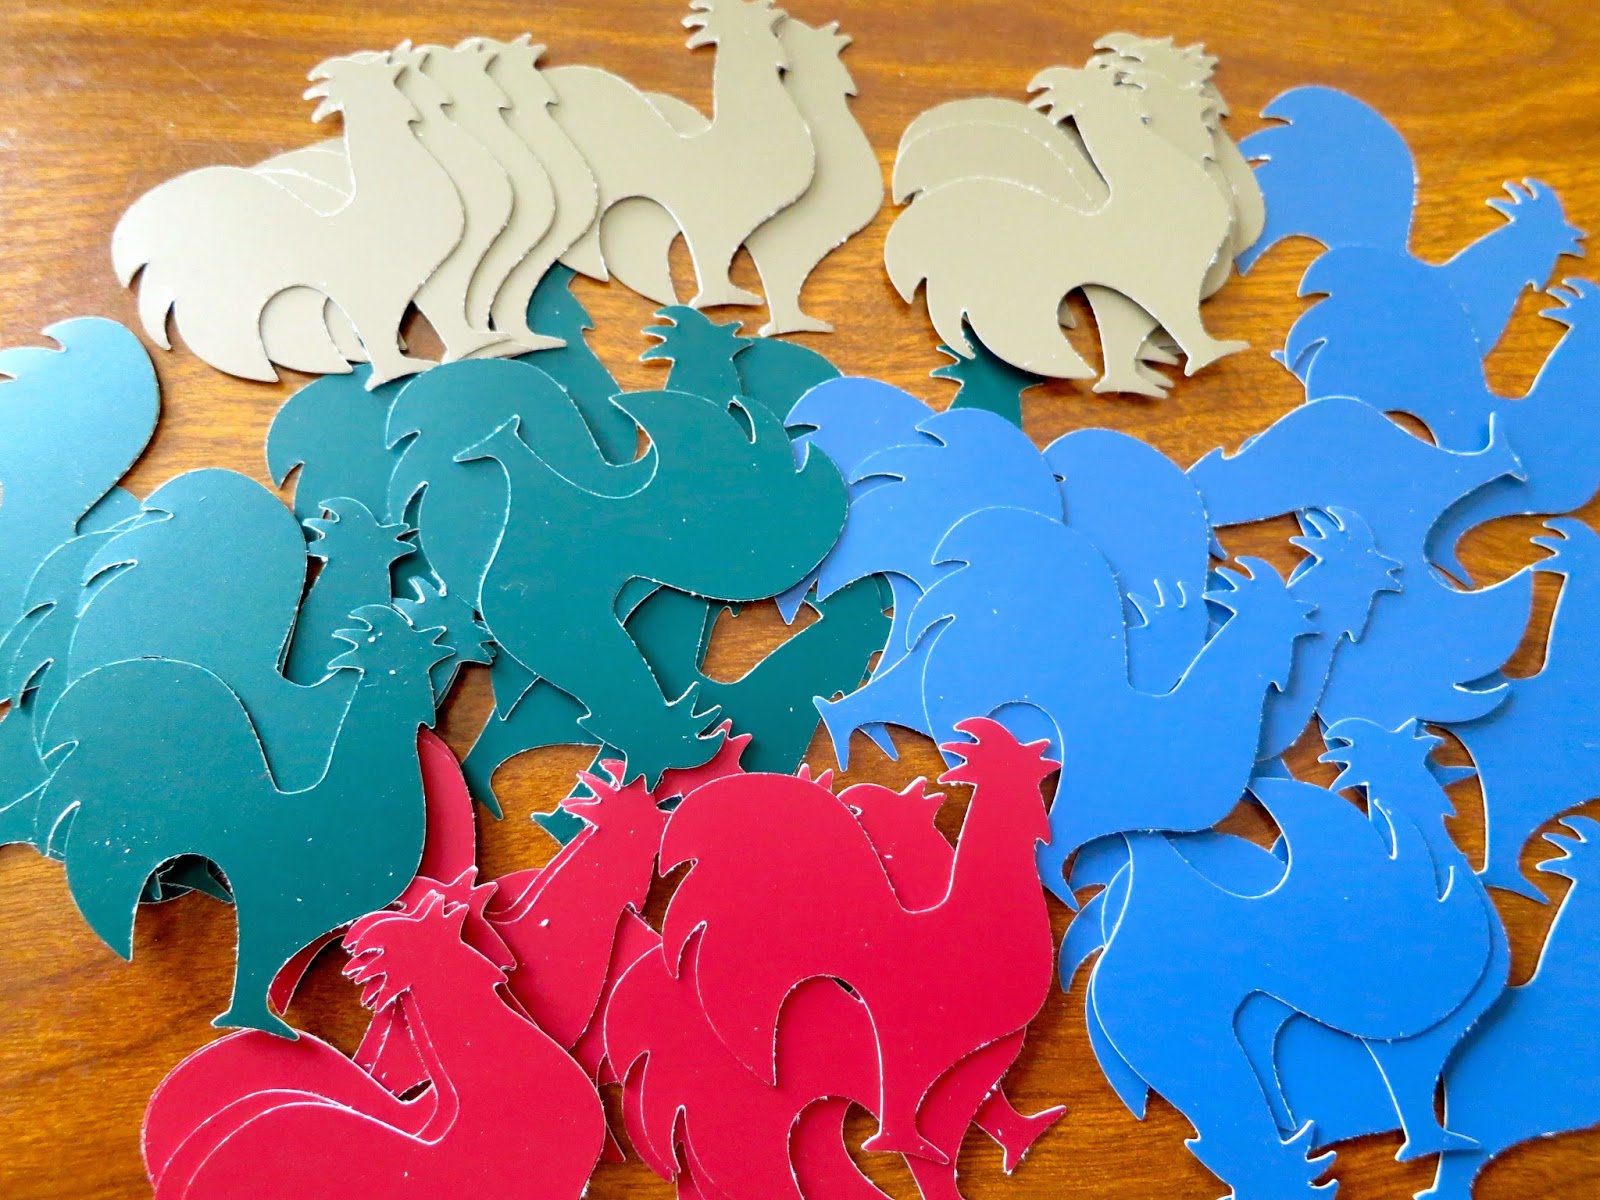
I got this Fiskars paper punch a week or so ago, because I saw it and thought of my sister. She and her husband live on a small farm that is just minutes from my own home. I knew I could make something fun for her with this chicken punch. Don't have a punch? No worries. In the past I have done other projects with paint chips using scissors, pictured at the end of this post*

After you have picked your {free} paint chips out & you're back home, set yourself up at a table and get to punching/cutting. You should probably turn on music or a tv at this point because punching is not that thrilling. I punched 13 chickens of each color. Then I grabbed a 11x14in canvas and began arranging my chickens. When I liked the way things looked I glued them down with an Elmer's Glue Stick. I covered them with a layer of Liquitex matte varnish to prevent them from popping off of the canvas.


Give this a shot! Even if you are someone who doesn't feel super artsy & creative. It's easy to do, and won't cost you a dime. Score! Be sure to click on the $0 Project label on the right hand side of my blog for more costless craft ideas!

*Here are two other paint chip projects I've done: