Showing posts with label green thumb. Show all posts

Saturday, August 22, 2015

Better Late Than Never

Today we mulched. 
Which seems kind of silly considering the theme of my last post was how soon Fall is approaching.

However, we sort of did this on purpose. We're having around fifty people over in a month or so to celebrate my mother-in-law's birthday, so we wanted things to look presentable for that. We bought a bunch of colorful perennials for the bed near our garden, and planted a row of mums out front. The mulch makes even our existing plants look better. It was a long day spreading four yards, but it's a good feeling to see the pay-off of all our hard work.


Here's a shot of some of the new perennials, which are to the right of the deck.

In this picture you can see that we mulched around the new flowers, then added top soil and grass seed {the blue specks} 

It's been pretty hot and dry lately, so I'll have to focus on watering a bunch back here so it grows and the plants don't turn into burnt crisps.


Here are the existing host plants and hydrangea with new mulch surrounding.

The hydrangea blooms dried up, so I pruned them. I read that if you cut where the bloom was, the next year there will be two from that spot. So the bush will grow and blooms will increase. Hopefully that is the case! I also read you can put coffee grounds around the base of each plant to keep the soil acidic & help retain moisture.


Thanks for stopping by OE!

Tomorrow we'll move things inside to finish quarter round in the kitchen. What are your plans?
Happy Weekend!

Wednesday, May 6, 2015

Hello Spring!

Now that our flooring is {for the most part} finished, we're anxious to get outside & get our hands in the dirt. Today is my day off, so I tackled a few projects around the deck. I transplanted hosta all around the perimeter of the deck, built a little path of 4 stepping stones from the deck to the paver patio, then planted my herb garden. I made the stakes for the garden by using steel alphabet stamps hammered into strips of brass {found in the electrical section at Hartville Hardware}


The herbs are potted and resting on a little white plant stand that used to belong to my Grandma Rita. She was great at gardening, hopefully that brings me luck! After giving everything a thorough hosing down, I think now is the perfect time for lunch in the shade!

Thanks for checking in!

Tuesday, October 28, 2014

"Mums the word"

The mums we planted at the end of September are still going strong. This weekend possible snow is forecasted (!!!) so I wanted to capture the color & sun rays now before they are soon gone and replaced by white. I like living in Ohio and experiencing all four seasons, but I will be sad to see my mums go!


Sunday, July 27, 2014

Bread & Butter Pickles


Ingredients
+ pickling cucumbers
+ 1 small white onion
+ 2 Tbs salt
+ 1 cup white vinegar
+ 2 cups white sugar
+ 1 Tbs mustard seed
+ 1 Tbs celery seed


This recipe doesn't require processing in boiling water like typical canning. As long as you have some containers with lids, you are good to go. Homegrown cucumbers make this a $0 Project. Here's how I did it:

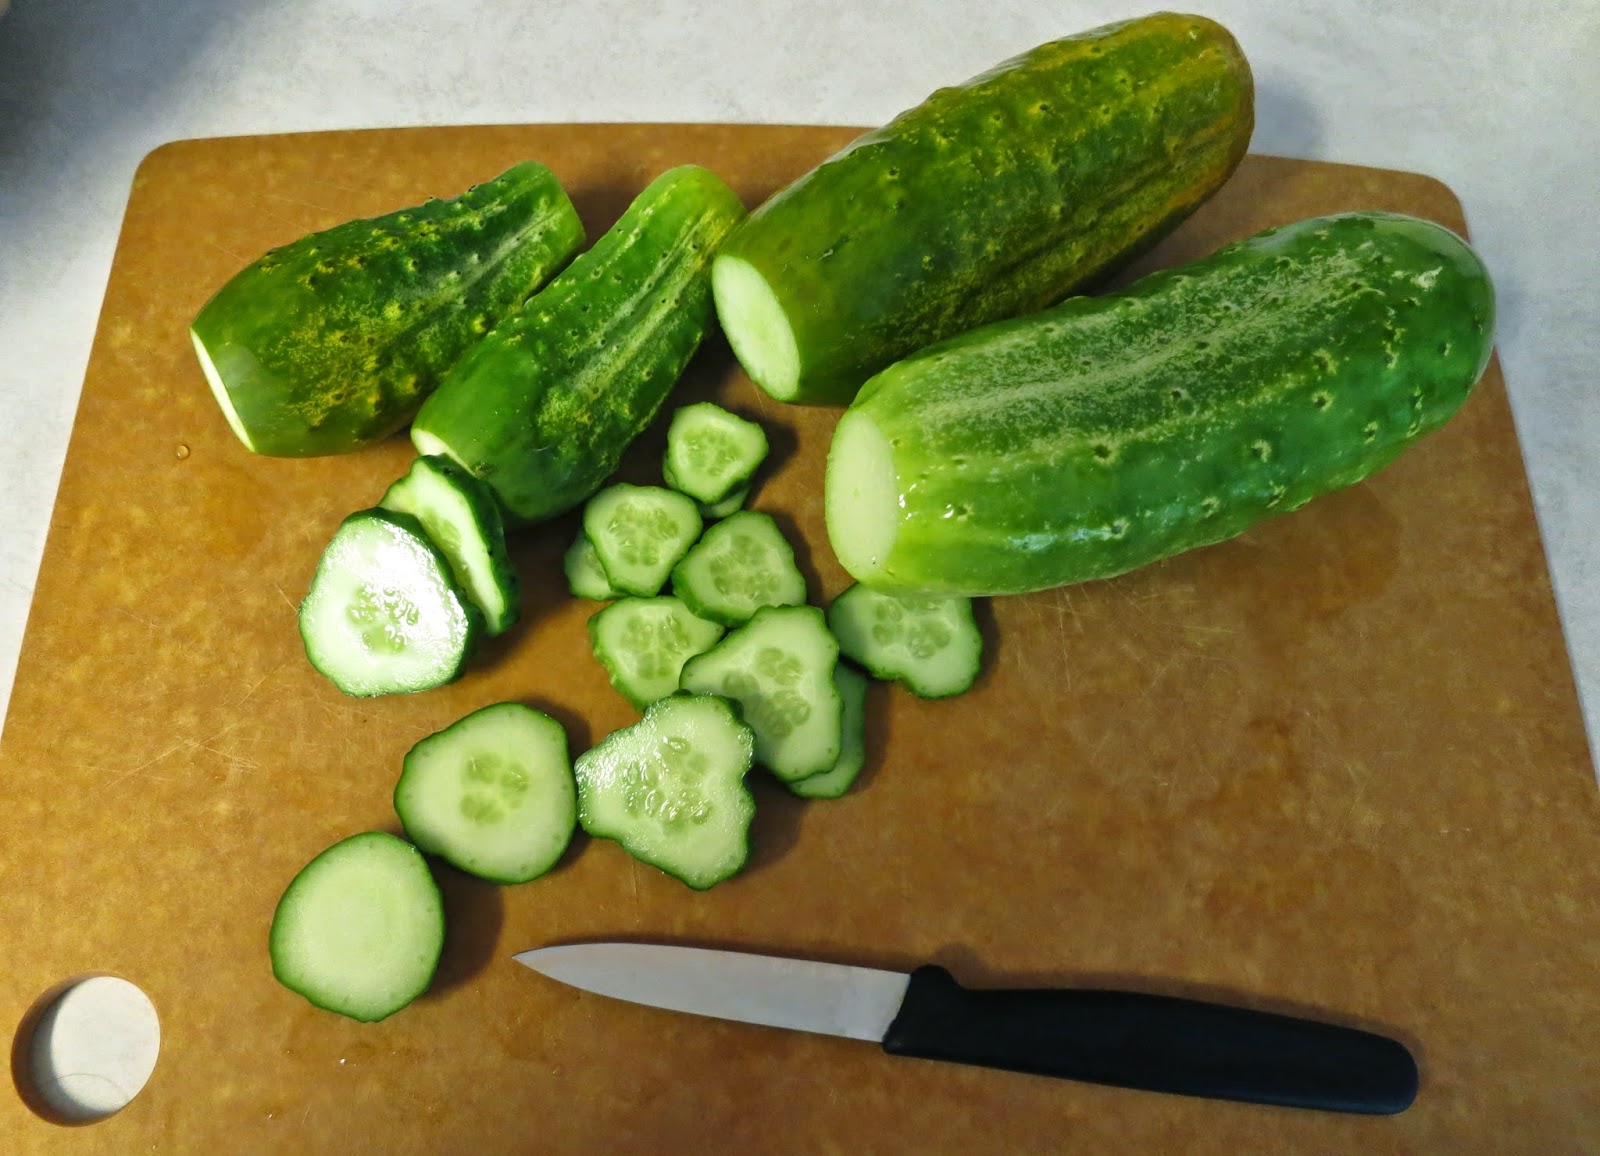
First, I washed and sliced up the cukes.


Next, the cucumbers went into a pot with the sliced onion and salt.


I set that pot aside and combined vinegar, sugar, mustard seed and celery seed to a saucepan. 
This was heated until the sugar was dissolved. 


Then the liquid was poured over the cukes & onions and placed in the fridge for 24 hours.


The following day I divided the mix into mason jars. I sampled a pickle, and it was crisp, tangy goodness! Jars should be stored in the refrigerator.


Everything tastes better homegrown. Thanks for reading!


Friday, July 18, 2014

Garden Update


Hey everyone! 

I haven't posted in July at all yet - it's been a busy month! We enjoyed a 10 day vacation at Holden Beach, NC with my family {such a wonderful time!} and when we came home, we had a little bit of fresh produce to greet us: 3 cukes, a jalapeño, and some beans. We're still eagerly awaiting our tomatoes, and as you can see, they are on their way. 

Hopefully you are all enjoying summer!

PS: The cucumber plant has almost entirely taken over the garden - which is good & bad. It will likely choke out the peppers, so we aren't expecting (m)any of those. But hey, this is our first season and we're learning. Next year we may create a different planting plan, but for now we're rolling with the punches & looking forward to making some bread & butter freezer pickles!

Monday, June 16, 2014

Patio Reveal

Andrew and I worked super hard, and now we can reap the benefits. Here are the before & after shots of our new back patio. We look forward to the memories that will be made here now and for years to come!

Here is the space BEFORE:

And here it is NOW!


Tuesday, June 10, 2014

Veggie Time

We finally planted our veggies!

Four varieties of tomatoes, green peppers, red peppers, jalapeño peppers, bush beans, spaghetti squash, pickling cucumbers, and basil.

Having BLTs with tomatoes fresh from the garden is one of our favorite summer traditions. I'm also looking forward to trying my hand at making salsa, pickles, and pasta sauce from our heirloom roma tomatoes!

We look forward to harvesting our produce.
 

Tuesday, May 6, 2014

Traveling Garden


Today I made a tiny traveling garden.

I've been really anxious to plant, but we're waiting until the end of the month to do anything major {such as plant our veggie garden}. In the meantime, I thought this would be fun to try. I saved empty toilet paper rolls for my project & bought seed packets at Home Depot - sweet basil, cilantro, lavender & canterbury bells. The last two are mostly to be pretty/add some color.

I cut each roll in half, then bent the flaps in to make a cup. It may take a week {or two or three} for them to start... that is if they even start at all…I've never done this before so it could lead to failure. Worth a shot though! To keep track of which seeds are in what cup, I labeled them. Next I added the soil and seeds. At this point in time, I decided I needed to put all of the cups in the same container so they could travel around as a unit. I checked our recycling and picked an empty egg carton to do the job. To finish up, I watered the cups & set them in the sun. Hopefully they will sprout, eventually!


Thanks for reading! Time will tell if this is a success or failure...

Phase I - Raised Garden Bed

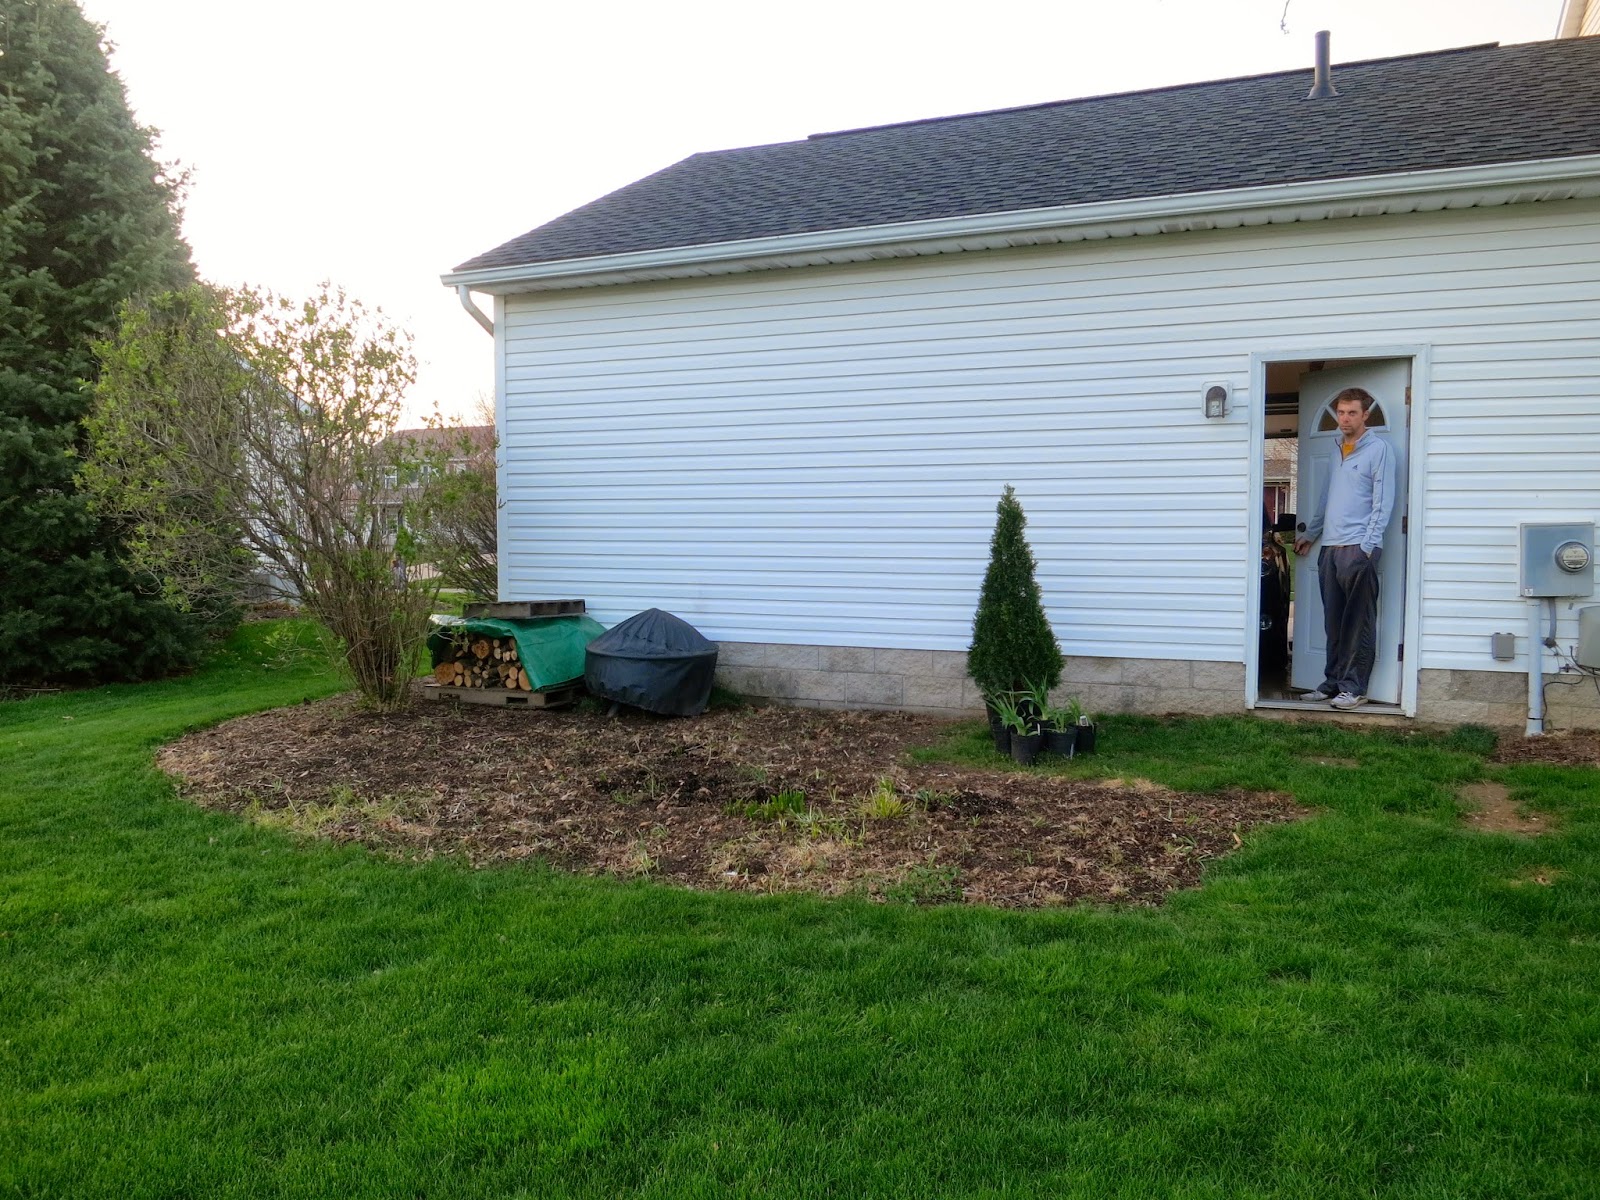
The weather was decent over the weekend, so on Saturday we built the frame for our raised garden bed.  Phase I of Farber Backyard Update is almost complete! It's a 4x8 foot rectangle made of cedar wood, which is naturally resistant to rot. The sides are 12 inches tall. We cut two sheets of metal mesh for the bottom {to keep digging critters out} and the 6 support stakes extend past the frame and into the ground for stability. I also planted a 4 foot arbor vitae & 5 day lilies near the garden bed on Sunday. We still have some more minor landscaping to do around it, but for now we're just glad to have the frame in place, ready to hold some dirt. We look forward to planting our garden sometime after Memorial Day weekend. Here are some pictures of our process: