Showing posts with label paper projects. Show all posts

Friday, December 4, 2015

Paper Rose Garland

Hey everyone! I'm back with another installment of


Today's project is DIY Paper Rose Garland
You'll need: 1) Paper 2) Twine 3) Scissors 4) Glue

  • Start by drawing a spiral on your paper. If you have a good eye, you can skip this step and head right for your scissors to cut the spirals like I did. I'm using pages from an old books & dictionaries.
 

  • Now sit in front of the TV or turn on some good music as you do this repeatedly. Make as many as you want. More spirals = more roses = longer garland. So go to town!
        

  • Once you've cut all your spirals, start rolling! Take one sheet. Begin from the outside of the spiral and tightly coil until you get to the end. Now release it. Don't be afraid to do this part - this is how your paper will expand & allow your rose to look more realistic. Using a glue gun, add a dollop of glue and press the flower part into it - once dry, this is how your rose will be held secure. 
        
  • As you go along, realize that these are meant to be imperfect. Don't be alarmed to notice that your roses are turning out differently each time. No two are the same, just like real flowers. Another tip? Sometimes to speed things up I wind all of my flowers, then get out the glue and secure them all at once. You really can't go wrong with whatever system you adopt.
  • Once you have a pile of roses, unwind a length of twine. Add your roses by turning them upside down, putting another dollop of glue on the backside, then pressing the twine into place. Hold each one for a few seconds before moving on to the next to ensure a snug bond.


You can make your garland as long as you wish. And now that you are an expert at paper rose making, get creative with adding flowers to other projects - picture frames, present toppers, or even a bunch wired to sticks in a vase. I put my garland on a Christmas tree in our dining room, but I like it so much I might keep it out all year long :) Thanks for stopping over today. If you try this project, I wish you success!

Keep creating, DIYers!

Friday, November 7, 2014

Brown Bag Wreath

$0 Project Alert! This one's free & fun. Just ask for paper bags next time you're at the grocery store. You will have to pay for the groceries…

Wreaths are a pretty way to decorate your home, indoors or out. I never really paid that much attention to wreaths until I had my own house, and then I developed an appreciation. I saw one like this on a friend's Instagram and figured it would be pretty simple to make. Easy, quick decoration for that {limbo} period in between Halloween & Christmas. Especially if you're like me and don't have much Thanksgiving decor. After I put away all of our ghosts & jack-o-lanters, I'm always at a loss. It's too soon for Christmas stuff! To fill the void, I settled on a few of these wreaths and a set of neutral pumpkins for the mantle. This should tide us over until I bust out all of the red & green at the end of the month.


First I cut the cardboard into circles. I traced bowls from the kitchen to make sure the circles were exact. Then I drew 1 leaf on the paper bag and cut it out. I used this leaf as a template to trace the rest. After cutting all of the leaves out, I made a crease in the center of each by lightly folding. Then I began gluing the leaves to the cardboard circle. I started at the top and went clock-wise until I reached the end. To hang, I tied a length of ivory ribbon to each.


I bet making one big wreath for the front door would be really sharp looking, too. Obviously I would need bigger pieces of cardboard for that! {Something to keep in mind for the future} For now, I'm satisfied. And I don't want to go overboard by putting homemade wreaths all over the place in the house - I'll get a reputation!

Thanks for following along.
Keep creating, DIYers!

Monday, April 7, 2014

Kool Aid Gift Tags


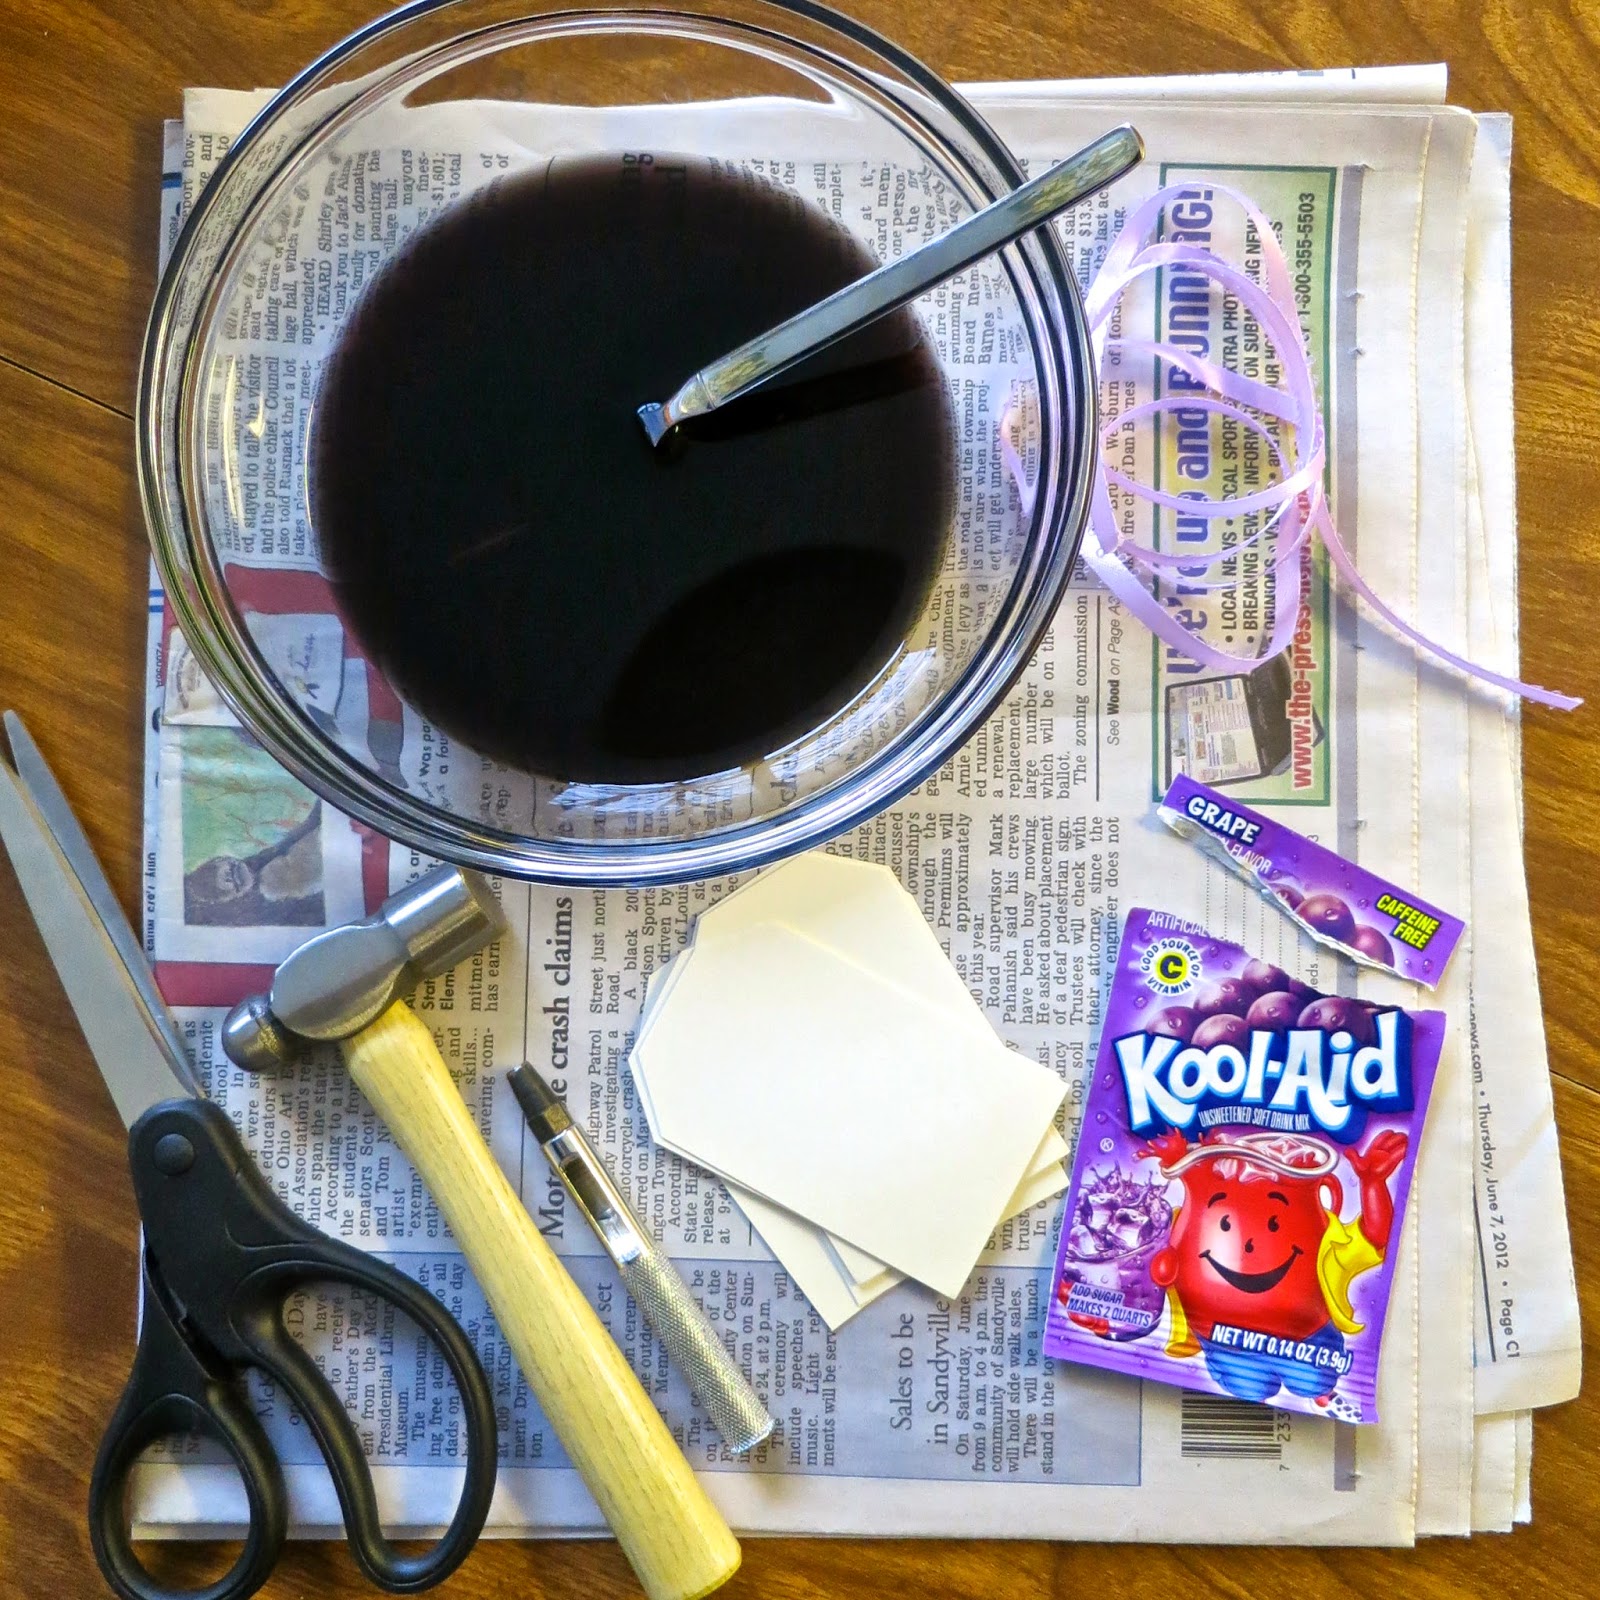
If you have cardstock, ribbon, and packet of Kool Aid... you've got everything you need to make this set of adorable gift tags. No kidding! I used plain cream cardstock cut into 2 x 3 1/4 inch rectangles, looped some purple ribbon through holes I punched in the top, then dipped the bottoms in grape Kool Aid*. Check out pictures of my process below & try it yourself. Have fun experimenting with different flavors colors - they even smell good!


This project took me a total of 30 minutes. At first I was worried because the Kool Aid in the bowl looked too dark, but the color actually went on really light & darkened to a nice shade as it dried. I'm looking forward to using these tags on Easter gifts - the color is perfect for this time of year!

* I didn't add sugar to the Kool Aid {as the package suggests} since I was using it as dye & not a beverage. Just empty one sleeve into a bowl with 6 oz. of tap water
 

He is not here; He is risen, just as He said. 

Matthew 28:6