This room is dedicated to gathering around the table // When Andrew first moved in, all I could talk about is how the dining room needed wooden floors and white board & batten. Fast forward 3 years and my dream is finally a reality. He thinks it's pretty neat, too. If you stopped by our house in the evening, you'd find us in here eating dinner or fixing ourselves some mixed drinks. We've also been known to host the occasional game night with friends in here.
Wednesday, July 15, 2015
Wednesday, July 1, 2015
Back with a Long Post
After a 2 month hiatus {whoops} here I am! Do I find it easier to fit blogging into my schedule during the colder months when there is less to do outside? Maybe. Or maybe the fact that we have so many projects going on simultaneously is what has me tied up. That being said, lately we've been busy with some finishing touches around this place...
PS: Today the dining room board & batten is being installed, tomorrow I can paint it white & then that room will be finished! So. Excited. Can't wait to share with you guys!
- As covered in another post, we finished the flooring installation & we started nailing in the quarter round - we decided to spend a little extra on the round that matches our Pergo and so far we are very pleased with that choice. Our first "completed" room is the office. It's so great to see it all put back together. Pictures to be posted very soon!
- In the kitchen, we decided to put up real wood for the toe kick under the cabinets {rather than rubber kick that was previously there}. It's hard to post a picture of this, but just trust me, it looks better this way than it did! Check it out:
- So far summer has been waaaaay RAINY, but we were able to stain the deck in-between downpours. We used Flood brand in cedar. It's cheap, durable, and I love it. Below you can see the deck before stain in the left photo, after stain in the right photo:
- We planted flowers, but haven't mulched. Not really sure when that will get done, but I'm not extra worried about it. Who knows, maybe we'll get a really spectacular indian summer this year and it will be done by then {fingers crossed!} So here we see one of the urns from the front stoop, my little potted English ivy, the veggie garden - we added cattle fencing to the corner for taller plants to climb, and one of the larger planters with pine/coleus/ivy/& a flower I can't recall that are on the back patio:
Tuesday, May 12, 2015
Fresh Air Day!
Hello out there! Is everyone enjoying Spring so far? I know I am. Today I had the windows open and immensely enjoyed the fresh air that filled the house.
I had absolutely nothing on my agenda {well ok, I had to make dinner at some point, but I digress…} so I tackled a number of small projects that I've been meaning to cross off my to-do list… and still managed to cook up a good meal afterward!
First I taped off the trim in the upstairs landing, then I got to priming. It's amazing how much bigger a space seems once white is added into the mix. Next did some paint touch-ups downstairs in the laundry room. [Speaking of that room, I'm scheming up something really cool for the entrance. We took off the door - which never fully closed due to the dryer - so I'm thinking of doing a curtain instead…I'll have to blog it]
Anyways! Then I made an ironing board rack for my mom {want to make one? click here!}
Last but not least I gave this end table some sprucing up. The end table sits between the rocking chair and couch in our living room. It's an antique I picked up somewhere along the way. Now that our mantle is all white, I thought this little guy could use some white elements. I'm toying with the idea of sanding the drawer & door corners for a distressed look. What do you think?
Thanks for stopping by the blog!
I had absolutely nothing on my agenda {well ok, I had to make dinner at some point, but I digress…} so I tackled a number of small projects that I've been meaning to cross off my to-do list… and still managed to cook up a good meal afterward!
First I taped off the trim in the upstairs landing, then I got to priming. It's amazing how much bigger a space seems once white is added into the mix. Next did some paint touch-ups downstairs in the laundry room. [Speaking of that room, I'm scheming up something really cool for the entrance. We took off the door - which never fully closed due to the dryer - so I'm thinking of doing a curtain instead…I'll have to blog it]
Anyways! Then I made an ironing board rack for my mom {want to make one? click here!}
Thanks for stopping by the blog!
Wednesday, May 6, 2015
Hello Spring!
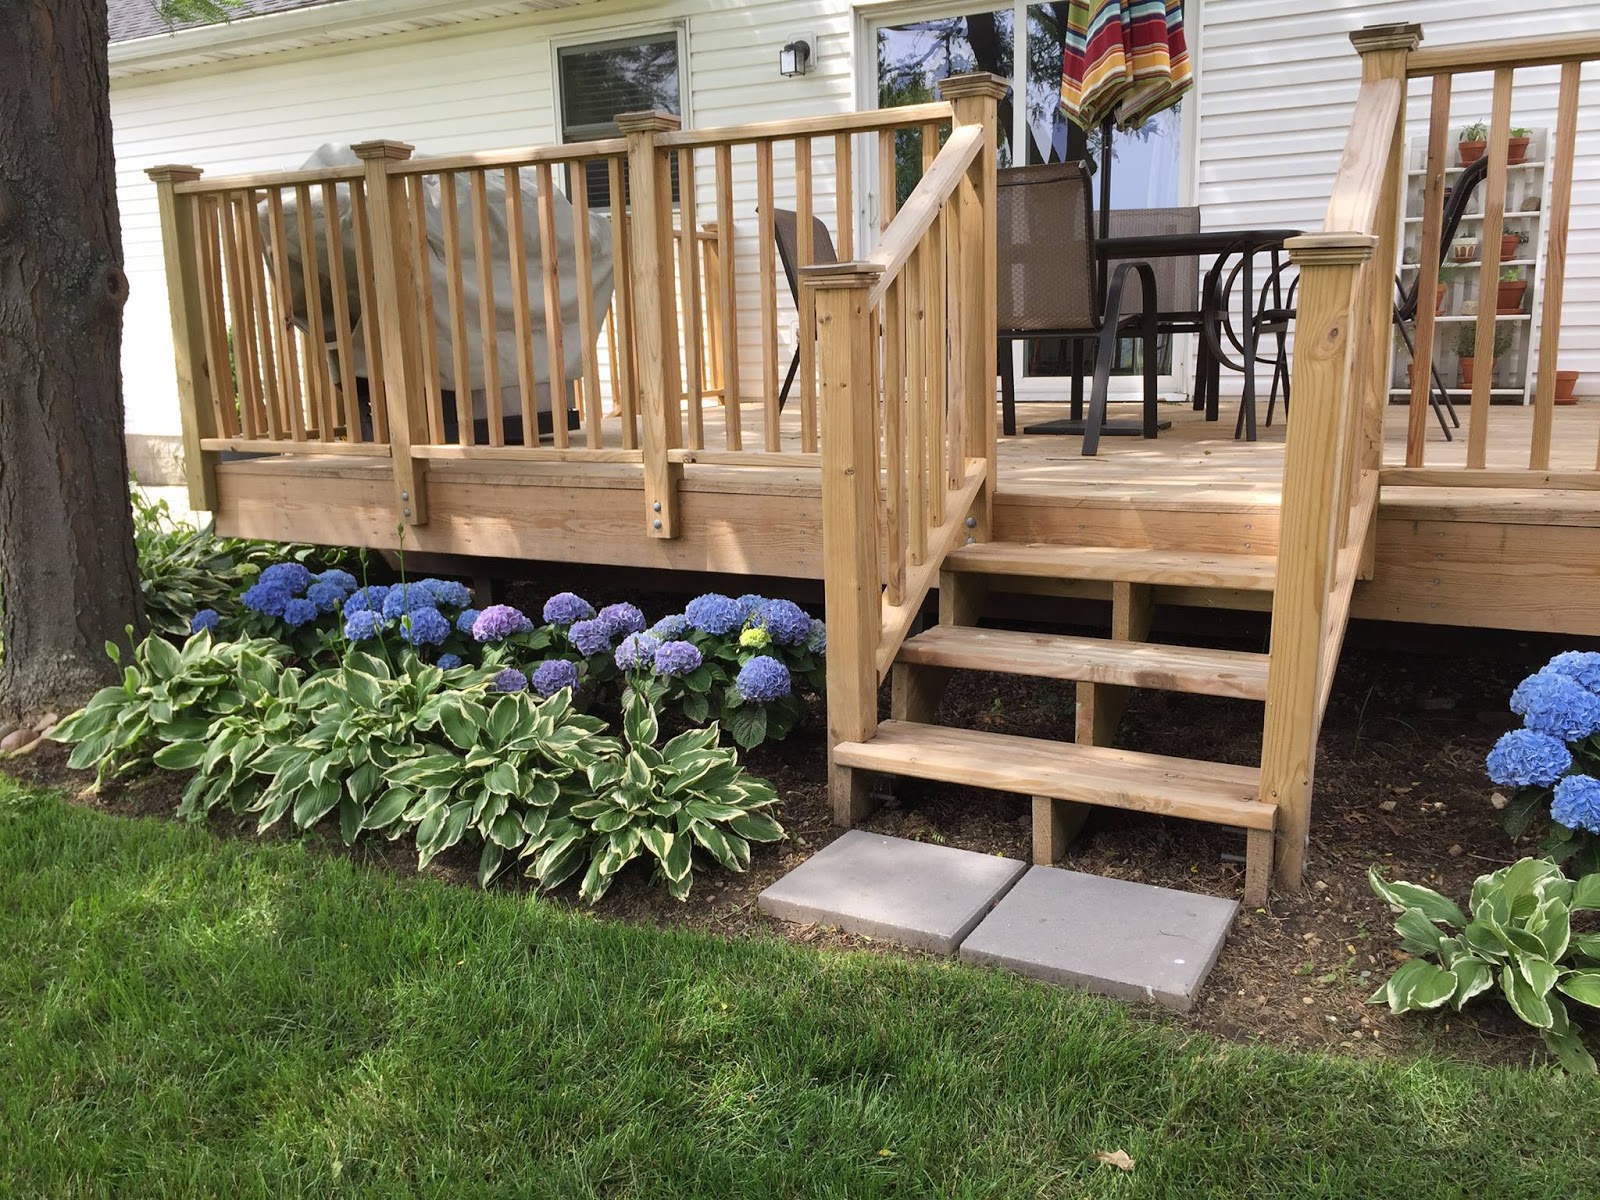
Now that our flooring is {for the most part} finished, we're anxious to get outside & get our hands in the dirt. Today is my day off, so I tackled a few projects around the deck. I transplanted hosta all around the perimeter of the deck, built a little path of 4 stepping stones from the deck to the paver patio, then planted my herb garden. I made the stakes for the garden by using steel alphabet stamps hammered into strips of brass {found in the electrical section at Hartville Hardware}
The herbs are potted and resting on a little white plant stand that used to belong to my Grandma Rita. She was great at gardening, hopefully that brings me luck! After giving everything a thorough hosing down, I think now is the perfect time for lunch in the shade!
Thanks for checking in!
It's Done!
The Pergo is totally installed! Hallelujah! With help from Andrew's dad, we were able to rip out the rest of the carpet, prime & paint the trim, and lay the final floor boards. It was a long project, and there are still finishing touches to accomplish. But here are some pictures of our handiwork. Once things are back in their proper places and all decorated again I want to post some dramatic "Before & After" side-by-side comparisons. But for now enjoy these!
Things were off to a great start once the guys were able to remove the ceramic tile from the foyer. It took them about 3 hours and made A TON of dust.
After that, we were able to lay more boards in the dining room and remove the carpet {and staples!} in the office.
The displaced furniture situation was REAL. Our entire home library made it's way to the steps, while all other tables, chairs, lamps, jars, flowers, fishing poles, world globes & extra tools {I see you in that photo, bottom left corner junk table!} got a temporary new home in the living room.
Next, Andrew continued with the flooring while I primed the trim. Then he went outside to mow the lawn while I continued on with the painting inside. We had the windows open and music blaring - it was a good Saturday!
When Sunday rolled around, we went to church, came home & immediately got to work finishing things. As previously stated, the rooms aren't quite put back together 100%. But the floor sure does look amazing!
L-to-R pictured is the Dining Room, Foyer, Office.
HUGE sigh of relief! Once we install quarter round, the project will be complete. Though it was trying at times and often stressful, we're pretty proud of the job. Plus, we saved ourselves a boatload of money by DIYing. Stay tuned for our final reveal of how everything looks!
Keep creating, DIYers!
Tuesday, April 21, 2015
Renovation Update
Hi everyone! We've been slowly but surely making progress on our new floor installation. So far we've finished the kitchen, laundry, pantry and half bath…and made it into the dining room! There is so much furniture displaced into our office we can barely stand going in there for anything. We just keep reminding ourselves that all the mess & shuffling are temporary and we'll be happy with the results.
One of the challenges we ran into in the dining room was the subfloor. For some weird reason, we discovered it is about 1/4 inch shorter than the kitchen. To fix this we were able to buy a roll of underlayment to help match the difference, but for a while we were freaking out! So now we have Pergo in the dining room. We moved my empty china hutch on top of it so we have room to lay more floor. Because of the way the floor boards run, we're now at a standstill until we remove the tile in the foyer. Once that is gone we can continue with the floor, running it across the foyer and on into the office. Andrew is pretty sure he's going to rent a machine to help chop the tile and cement board up this weekend.
I've also been painting the trim here and there. My goal is to have the woodwork throughout the whole house end up white {eventually}. I would say I roughly have 50% of the downstairs painted, and 10% done upstairs. Slow and steady wins the race.
Here are a few photos of our continued progress:
Thanks for checking on us!
Thursday, April 9, 2015
DIY Ironing Board Rack
Hello out there - long time, no post! Since you last checked in, we finished laying the flooring in the kitchen and I've been busy painting all the trim white. I also repainted the walls & cabinetry in the little bathroom across from the pantry. Pretty soon the kitchen zone will be finished, and we'll move on to the dining room…which will hopefully be a snap since it's a square room. Time will tell!
Today I'm going to share a quick little project I did to help keep organized in the laundry room.
IRONING BOARD RACK
Supplies:- 2 hooks
- 1 chunk of wood
- paint
- screws
- stud finder
- power drill
- right angle/level
STEPS
I completed this project in 1 afternoon using a remnant piece of wood from a previous project & hooks from Lowe's that were $4/ea.
Pre-measure for hook placement. Use a right angle to make sure your marks are level.
Find the middle of your wood backing and mark holes top center and bottom center. These will screw into a stud in your wall. Drill your holes. Use a bit that is slightly smaller than the size of your screws.
Paint {and prime if necessary} your wood and let dry.
After locating a stud with the stud finder, draw a pencil line on the wall & line up your pre-drilled screw holes. Power drill into the stud, then screw the hooks into their pre-drilled holes.
Check to make sure it's level, then hang your ironing board. Tad-da! All done and under $10!
Thanks for stopping by Old Elm today.
Keep creating, DIYers!
Subscribe to:
Posts (Atom)