This room is dedicated to our "outdoorsy" side // Decorated with maps, globes & knick knacks from our travels, we keep Andrew's fishing poles and fly tying supplies in here along with our books & laptops. If you stopped by Old Elm and found us in the office, you'd probably see Andrew sitting at the desk paying bills and me curled up on the arm chair in the corner chatting with him.
Showing posts with label finishing touches. Show all posts
Thursday, July 16, 2015
Wednesday, July 15, 2015
Dining Room Reveal
This room is dedicated to gathering around the table // When Andrew first moved in, all I could talk about is how the dining room needed wooden floors and white board & batten. Fast forward 3 years and my dream is finally a reality. He thinks it's pretty neat, too. If you stopped by our house in the evening, you'd find us in here eating dinner or fixing ourselves some mixed drinks. We've also been known to host the occasional game night with friends in here.
"The fondest memories are made gathered around a table" - Anonymous
Tuesday, May 12, 2015
Fresh Air Day!
Hello out there! Is everyone enjoying Spring so far? I know I am. Today I had the windows open and immensely enjoyed the fresh air that filled the house.
I had absolutely nothing on my agenda {well ok, I had to make dinner at some point, but I digress…} so I tackled a number of small projects that I've been meaning to cross off my to-do list… and still managed to cook up a good meal afterward!
First I taped off the trim in the upstairs landing, then I got to priming. It's amazing how much bigger a space seems once white is added into the mix. Next did some paint touch-ups downstairs in the laundry room. [Speaking of that room, I'm scheming up something really cool for the entrance. We took off the door - which never fully closed due to the dryer - so I'm thinking of doing a curtain instead…I'll have to blog it]
Anyways! Then I made an ironing board rack for my mom {want to make one? click here!}
Last but not least I gave this end table some sprucing up. The end table sits between the rocking chair and couch in our living room. It's an antique I picked up somewhere along the way. Now that our mantle is all white, I thought this little guy could use some white elements. I'm toying with the idea of sanding the drawer & door corners for a distressed look. What do you think?
Thanks for stopping by the blog!
I had absolutely nothing on my agenda {well ok, I had to make dinner at some point, but I digress…} so I tackled a number of small projects that I've been meaning to cross off my to-do list… and still managed to cook up a good meal afterward!
First I taped off the trim in the upstairs landing, then I got to priming. It's amazing how much bigger a space seems once white is added into the mix. Next did some paint touch-ups downstairs in the laundry room. [Speaking of that room, I'm scheming up something really cool for the entrance. We took off the door - which never fully closed due to the dryer - so I'm thinking of doing a curtain instead…I'll have to blog it]
Anyways! Then I made an ironing board rack for my mom {want to make one? click here!}
Thanks for stopping by the blog!
Sunday, March 15, 2015
Switching It Up
Happy Sunday, readers! This morning we tried out a new church and had a really nice time. Now we're home and back at DIYing! Andrew's dad came over to help him work on the Pergo. It's coming along so great! They work well together & I've been staying out of the way. I have some priming left to do in the half bathroom {but I don't want to kill them with fumes}. The paint I got is definitely not low-VOC. Whoops.
So what did I do?
I walked around our house and made a list of the types of electrical outlets & switch plates in each room. Yep. I realize this sounds incredibly lame - but hear me out!
Outlets are often an overlooked detail along the reno process.
In my opinion, if you spend time & money re-doing a space, you shouldn't forget to update your switch plates. Ours are sort of a creamy almond color, and they are looking pretty dingy. Some are even cracked, so it's time to replace them….no rush. Just room-by-room, over time. I made a list in Notes on my iPhone & organized it by room. Now the next time we're out an about and see some we like, we can knock one out!
How do you guys keep yourselves organized during a renovation?
Andrew is usually our details man & I have a better idea of "the big picture." Feel free to share your tips with us!
Keep creating, DIYers!
Tuesday, October 28, 2014
Antiquing
Andrew and I have developed a soft-spot for antique stores. It's so enjoyable to stumble upon a hole-in-the-wall shop and sift through the salvage, looking for treasures. We try to keep our eyes peeled for antique spots while traveling. Luckily, there are also some real gems right in our hometown. Marshall's Antique Warehouse is one of our favorites. We went this weekend and scored a pair of corbels & a substantial chunk of walnut molding.
We also checked out a storage locker full of doors, but need to do some measuring at home before purchasing any of those.
My vision for the corbels is to hang one in each of the wide entrances on either side of the foyer that lead to the dining room & office. The molding needs to be tweaked slightly... nothing tool-man Andrew can't handle. A few cuts and then the finished product can hang above our bed as a faux mantle of sorts. We're very excited about these new {old?!} additions to our home and look forward to adding to our collection.
PS: The owner of Marshall's told us that the corbels and molding were salvaged from the Aultman-Harter mansion. Located in downtown Canton, this Victorian estate was home to Cornelius and Katherine Aultman, founders of the hospital where I work.
We also checked out a storage locker full of doors, but need to do some measuring at home before purchasing any of those.
My vision for the corbels is to hang one in each of the wide entrances on either side of the foyer that lead to the dining room & office. The molding needs to be tweaked slightly... nothing tool-man Andrew can't handle. A few cuts and then the finished product can hang above our bed as a faux mantle of sorts. We're very excited about these new {old?!} additions to our home and look forward to adding to our collection.
Here are some of the other antiques/salvage pieces we've picked up over the years:
![]() |
| The bedside table in our guest room |
| Midcentury typist desk in the corner of our office that Andrew uses for fly tying |
![]() |
| Old window I haven't decided where to hang - it's heavy! |
| Vintage travel trunk suitcase (in the foyer under an old library table) |
![]() |
| Fly fishing creel - office decor |
![]() |
| Wooden locker in our master bedroom |
PS: The owner of Marshall's told us that the corbels and molding were salvaged from the Aultman-Harter mansion. Located in downtown Canton, this Victorian estate was home to Cornelius and Katherine Aultman, founders of the hospital where I work.
See what I mean? Treasures!
Saturday, June 21, 2014
Outdoor Pallet Bar
The pavers we got for our patio were delivered on two pallets. I recently pinned an idea using two pallets to make a cute little outdoor bar. I told Andrew about it, and he agreed this would be a great & inexpensive project for us - the best part is we feel ok leaving the finished product outside year round.

Andrew stood the pallets up and screwed them together for stability, and we bought 4 square pavers to put on the top. I painted the pallets with a durable outdoor paint. I chose the color "Firecracker" by Valspar. {Fun name!}
To make the top sturdy and level, we did add a few shim boards...but other than that, this project was fast & easy.
It's a nice addition to our patio, and a good place to set plants or pitchers of iced tea. We love the little pop of color!
Making things out of pallets is such a cool trend, thanks for reading about how I used mine!
Keep creating, DIYers!
Wednesday, June 18, 2014
Craft Night!
This past Friday I had one of my oldest friends {since birth!} Nicole over for a girl's craft night. We ordered pizza & went to work on several projects - everything turned out pretty great if we do say so ourselves! We worked on some projects together & some separately, and had an overall great time catching up on life and staying up late like the old days! We made a skirt for the utility sink in my bathroom, homemade citronella candles, mod podge magnets, and painted bottles (not pictured). It was super fun & we look forward to doing it again soon!
Monday, June 16, 2014
Patio Reveal
Andrew and I worked super hard, and now we can reap the benefits. Here are the before & after shots of our new back patio. We look forward to the memories that will be made here now and for years to come!
Here is the space BEFORE:
And here it is NOW!
Sunday, May 4, 2014
Now & Then: Front Landscaping Update
Knowing we planned to get married Andrew and I started house hunting while we were dating. My favorite style of house is a two story colonial with a red front door, so Andrew likes to joke that he knew he was "doomed" when we first pulled up to this one. All kidding aside, given the chance to choose again, he would still absolutely pick Old Elm.
We had seen a handful of other homes in the area, and so far nothing clicked as our favorite. We wanted a location close to grocery stores and highway access, with a decent yard and plenty of bedrooms. We were willing to use a little elbow grease to get any potential house in shape as long as it had good bones. Some of the houses we saw were totally creepy. One had a Budweiser can in the fridge from 1996. {We did not drink it!} Old Elm caught my eye in the ads, so I circled it along with ten others to show our realtor. The ad said there was an open house on Sunday, which is when we first fell in love. We promptly called our realtor to set up a viewing with him along as a third opinion. He agreed that the house was great and wouldn't last long on the market. We had to act fast! We wrote up an offer, and within a week - after some counter-offering - we signed the papers. {Hello homeownership!} It was an exciting time.
The house was immaculate. The previous owners were outstanding caretakers, and there really weren't any immediate changes to make other than cosmetic fixes. Repainting, new lights, updated fixtures, you get the idea. Andrew moved in right away while I stayed living at my parents until our wedding. Despite the fact that I loathed driving home {and away from him} every night after dinner during our 1.5 year engagement, this worked out really well in hindsight. By the time we were married & I moved in, we had all of the major indoor projects out of the way.
We're still working on things! With the arrival of nice weather, we have shifted gears from indoors to the outdoors...landscaping! The front landscaping was in bad need of some TLC when Andrew moved in. We contemplated just trimming back what was already there, but a few days into that & some bizarrely shaped and colored shrubs later....we came to the conclusion that we'd rather rip it all out and start anew. After all, we plan to live here for quite some time. Why not start from scratch & do it our way? So that summer we ripped everything out, tilled, and came up with a new plan. Our friend Scott, who used to own his own landscaping business, helped us pick shrubs & plants that would thrive in our North-facing lawn. To the left, we planted 4 azalea, 3 seedum, 3 gold mop cypress, and 3 ornamental grasses. We established boxwood hedges on either side of the stoop, and laid a decorative slate wall in front of each. {Sidenote: boy, did Andrew have a fun time hauling around 1500 pounds of rock! Memories...} At the end of the wall on the right, we planted 3 knockout rose bushes. To save money we didn't buy the biggest shrubs available - knowing that in just a matter of years everything would mature and achieve more width & height. After this, we took a nice long vacation from all things landscape. We were pooped!
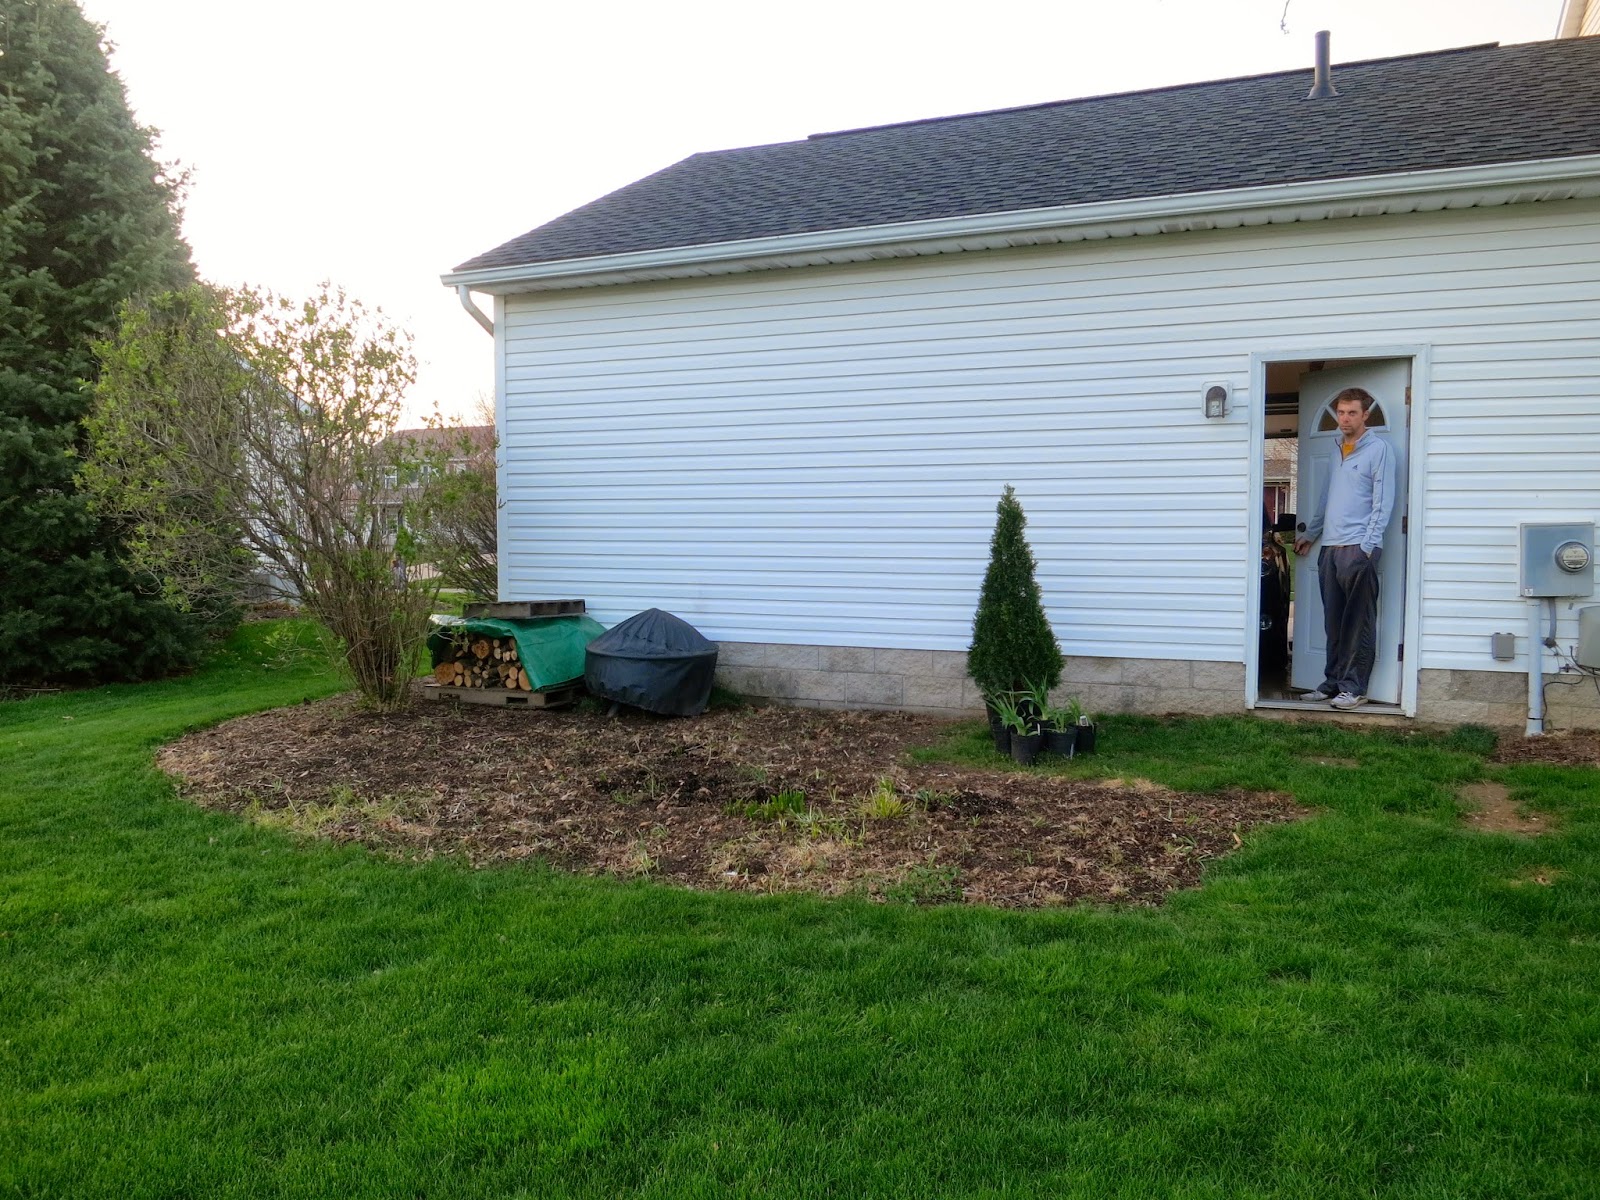
Months later - after things settled into the ground & we surveyed the scene with rejuvenated eyes - we decided we needed to add a few more elements that would offer height. So this Spring, we purchased two boxwood topiary & two evergreen arbor vitae to add into the mix. The boxwood live in planters on the front stoop and the arbor vitae are on either side of the garage. The taller of the two measures 10 ft and has been cut into a spiral. We're told this isn't too difficult to maintain. The other is a 6 ft tall, typical cone shape. We were pumped! These were just what the doctor ordered to seal the deal on our landscaping.
We are tossing around the idea of removing the screen door and getting an updated front door, as well as new lights for the stoop & garage. What do you think? As for now, we only need to plant ground cover in front of the right wall and maybe add some annuals here & there. I'm waiting until there is for sure no chance of frost around these parts. You never can tell!
The "Now" photo is on the left, "Then" is on the right. Thanks for following along. We like working hard & admiring the results. Our sights are now set on the back of the house. We just got pavers this past weekend...patio will be born soon!
PS: Andrew also added our house number above the front door. This is definitely one of the quickest & easiest ways to get some curb appeal on the cheap. He did a great job!
Keep plugging away at your projects, DIYers!
Subscribe to:
Posts (Atom)


