Sunday, July 27, 2014

Bread & Butter Pickles


Ingredients
+ pickling cucumbers
+ 1 small white onion
+ 2 Tbs salt
+ 1 cup white vinegar
+ 2 cups white sugar
+ 1 Tbs mustard seed
+ 1 Tbs celery seed


This recipe doesn't require processing in boiling water like typical canning. As long as you have some containers with lids, you are good to go. Homegrown cucumbers make this a $0 Project. Here's how I did it:

First, I washed and sliced up the cukes.
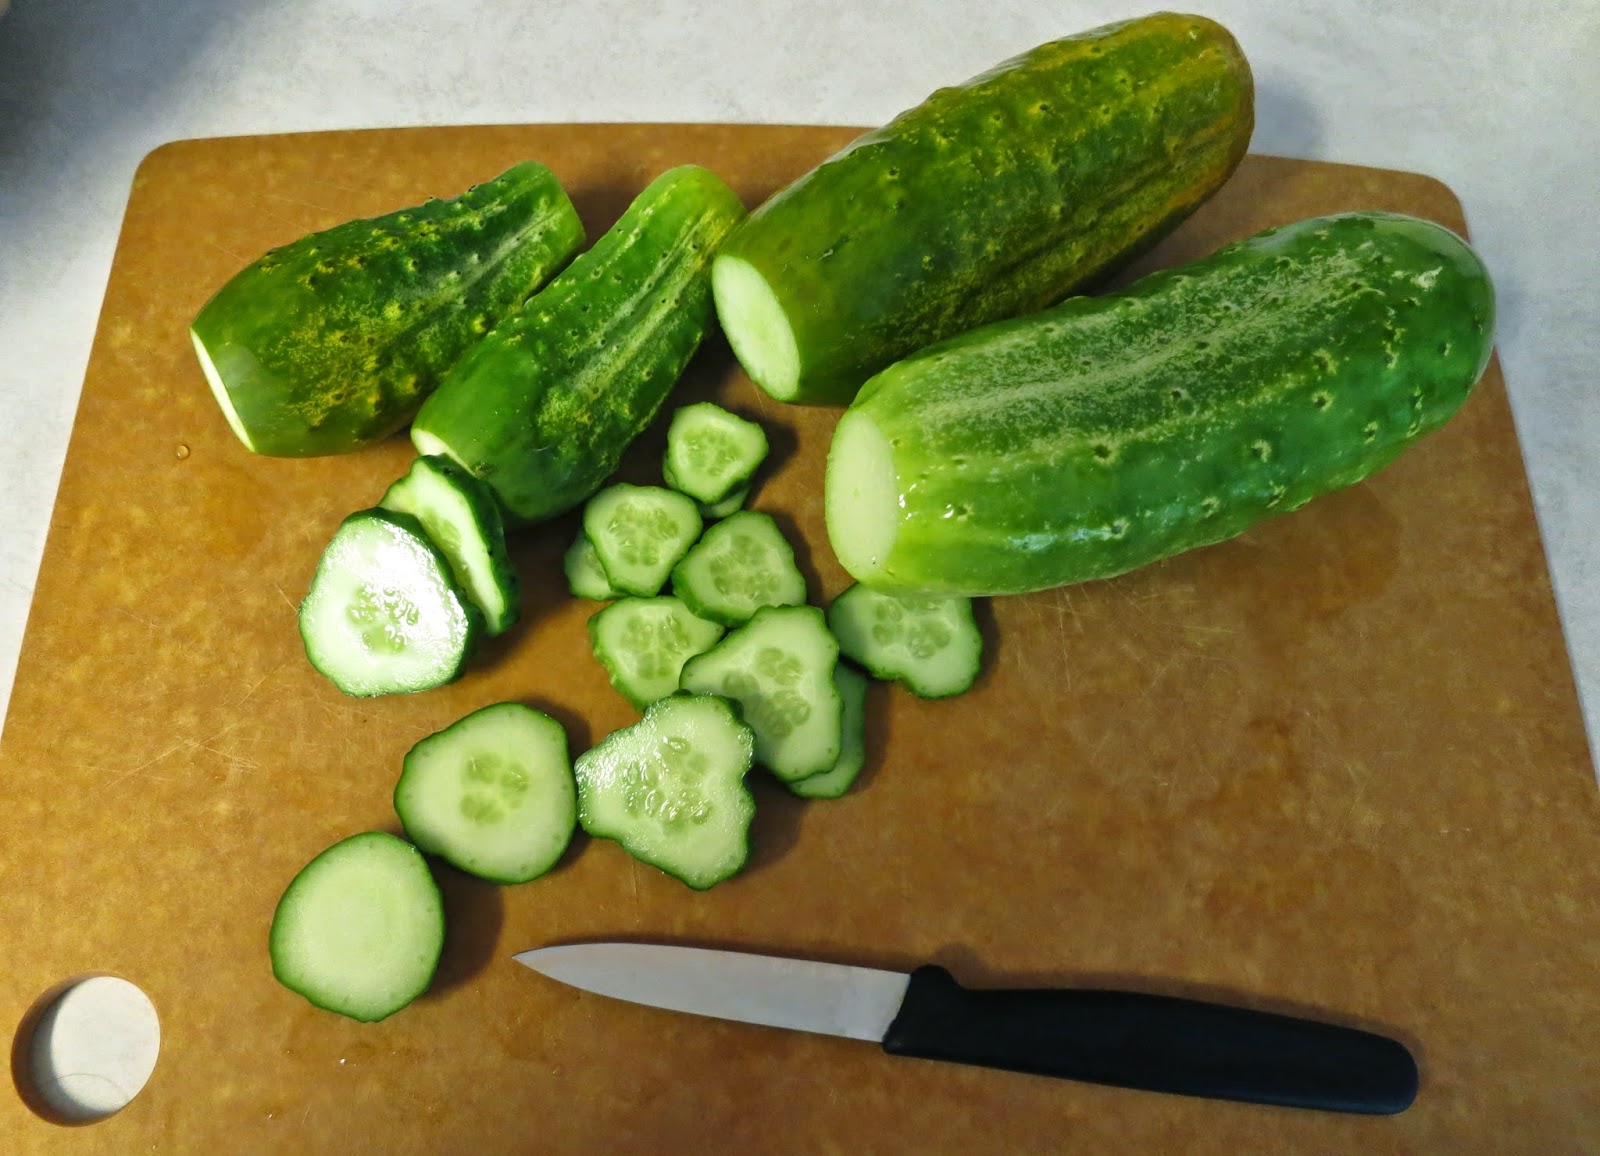

Next, the cucumbers went into a pot with the sliced onion and salt.


I set that pot aside and combined vinegar, sugar, mustard seed and celery seed to a saucepan. 
This was heated until the sugar was dissolved. 


Then the liquid was poured over the cukes & onions and placed in the fridge for 24 hours.


The following day I divided the mix into mason jars. I sampled a pickle, and it was crisp, tangy goodness! Jars should be stored in the refrigerator.


Everything tastes better homegrown. Thanks for reading!


Friday, July 18, 2014

Garden Update


Hey everyone! 

I haven't posted in July at all yet - it's been a busy month! We enjoyed a 10 day vacation at Holden Beach, NC with my family {such a wonderful time!} and when we came home, we had a little bit of fresh produce to greet us: 3 cukes, a jalapeño, and some beans. We're still eagerly awaiting our tomatoes, and as you can see, they are on their way. 

Hopefully you are all enjoying summer!

PS: The cucumber plant has almost entirely taken over the garden - which is good & bad. It will likely choke out the peppers, so we aren't expecting (m)any of those. But hey, this is our first season and we're learning. Next year we may create a different planting plan, but for now we're rolling with the punches & looking forward to making some bread & butter freezer pickles!

Monday, June 30, 2014

Jelly Jar Citronella Candles


I have been saving Smucker's Orchard's Finest jelly jars {and a few other "cute" jars} for a while to make homemade candles. This month I finally got around to it.

I touched on this project a little in my post about Craft Night, but I wanted to write something more detailed & entirely devoted to the candles. {Detailed... sort of ironic, because making these was anything but!}

You need just a few things to accomplish this:
  • melting wax
  • citronella essential oil
  • wicks
  • jars/containers
I bought soy wax shavings from Pat Catan's craft store for $20. The good news to me was the wax is microwaveable. I was dreading buying/using a double boiler. I'm sure it gets the job done just fine. But for whatever reason I had a mental block against it. I hot glued the wicks into my jars. {Regular and wood for fun!} Then microwaved my wax in a liquid measure. I added the drops of citronella oil after the wax came out of the microwave. I thought maybe the wax would try to harden right away, but it stayed liquid-y for a while. In fact, after pouring it into my jars, it took a full 24 hours to totally harden. Voila! Done! I made 6 candles and had plenty of wax chips leftover.


So there you go. A fast, fun project - cheaper than store-bought and in my opinion a lot cuter. I chose to leave my wax it's natural color, but it would also be fun to experiment with different colors.

Thanks for checking in at Operation: Old Elm!
Keep creating!

Saturday, June 21, 2014

Outdoor Pallet Bar


The pavers we got for our patio were delivered on two pallets. I recently pinned an idea using two pallets to make a cute little outdoor bar. I told Andrew about it, and he agreed this would be a great & inexpensive project for us - the best part is we feel ok leaving the finished product outside year round.


Andrew stood the pallets up and screwed them together for stability, and we bought 4 square pavers to put on the top. I painted the pallets with a durable outdoor paint. I chose the color "Firecracker" by Valspar. {Fun name!} 

To make the top sturdy and level, we did add a few shim boards...but other than that, this project was fast & easy. 

It's a nice addition to our patio, and a good place to set plants or pitchers of iced tea. We love the little pop of color!

Making things out of pallets is such a cool trend, thanks for reading about how I used mine!

Keep creating, DIYers!

Wednesday, June 18, 2014

Craft Night!


This past Friday I had one of my oldest friends {since birth!} Nicole over for a girl's craft night. We ordered pizza & went to work on several projects - everything turned out pretty great if we do say so ourselves! We worked on some projects together & some separately, and had an overall great time catching up on life and staying up late like the old days! We made a skirt for the utility sink in my bathroom, homemade citronella candles, mod podge magnets, and painted bottles (not pictured). It was super fun & we look forward to doing it again soon!

Monday, June 16, 2014

Patio Reveal

Andrew and I worked super hard, and now we can reap the benefits. Here are the before & after shots of our new back patio. We look forward to the memories that will be made here now and for years to come!

Here is the space BEFORE:

And here it is NOW!


Tuesday, June 10, 2014

Veggie Time

We finally planted our veggies!

Four varieties of tomatoes, green peppers, red peppers, jalapeño peppers, bush beans, spaghetti squash, pickling cucumbers, and basil.

Having BLTs with tomatoes fresh from the garden is one of our favorite summer traditions. I'm also looking forward to trying my hand at making salsa, pickles, and pasta sauce from our heirloom roma tomatoes!

We look forward to harvesting our produce.