Friday, May 30, 2014

Phase II - Paver Patio

Hello and welcome to Phase II of the Farber Backyard Update!

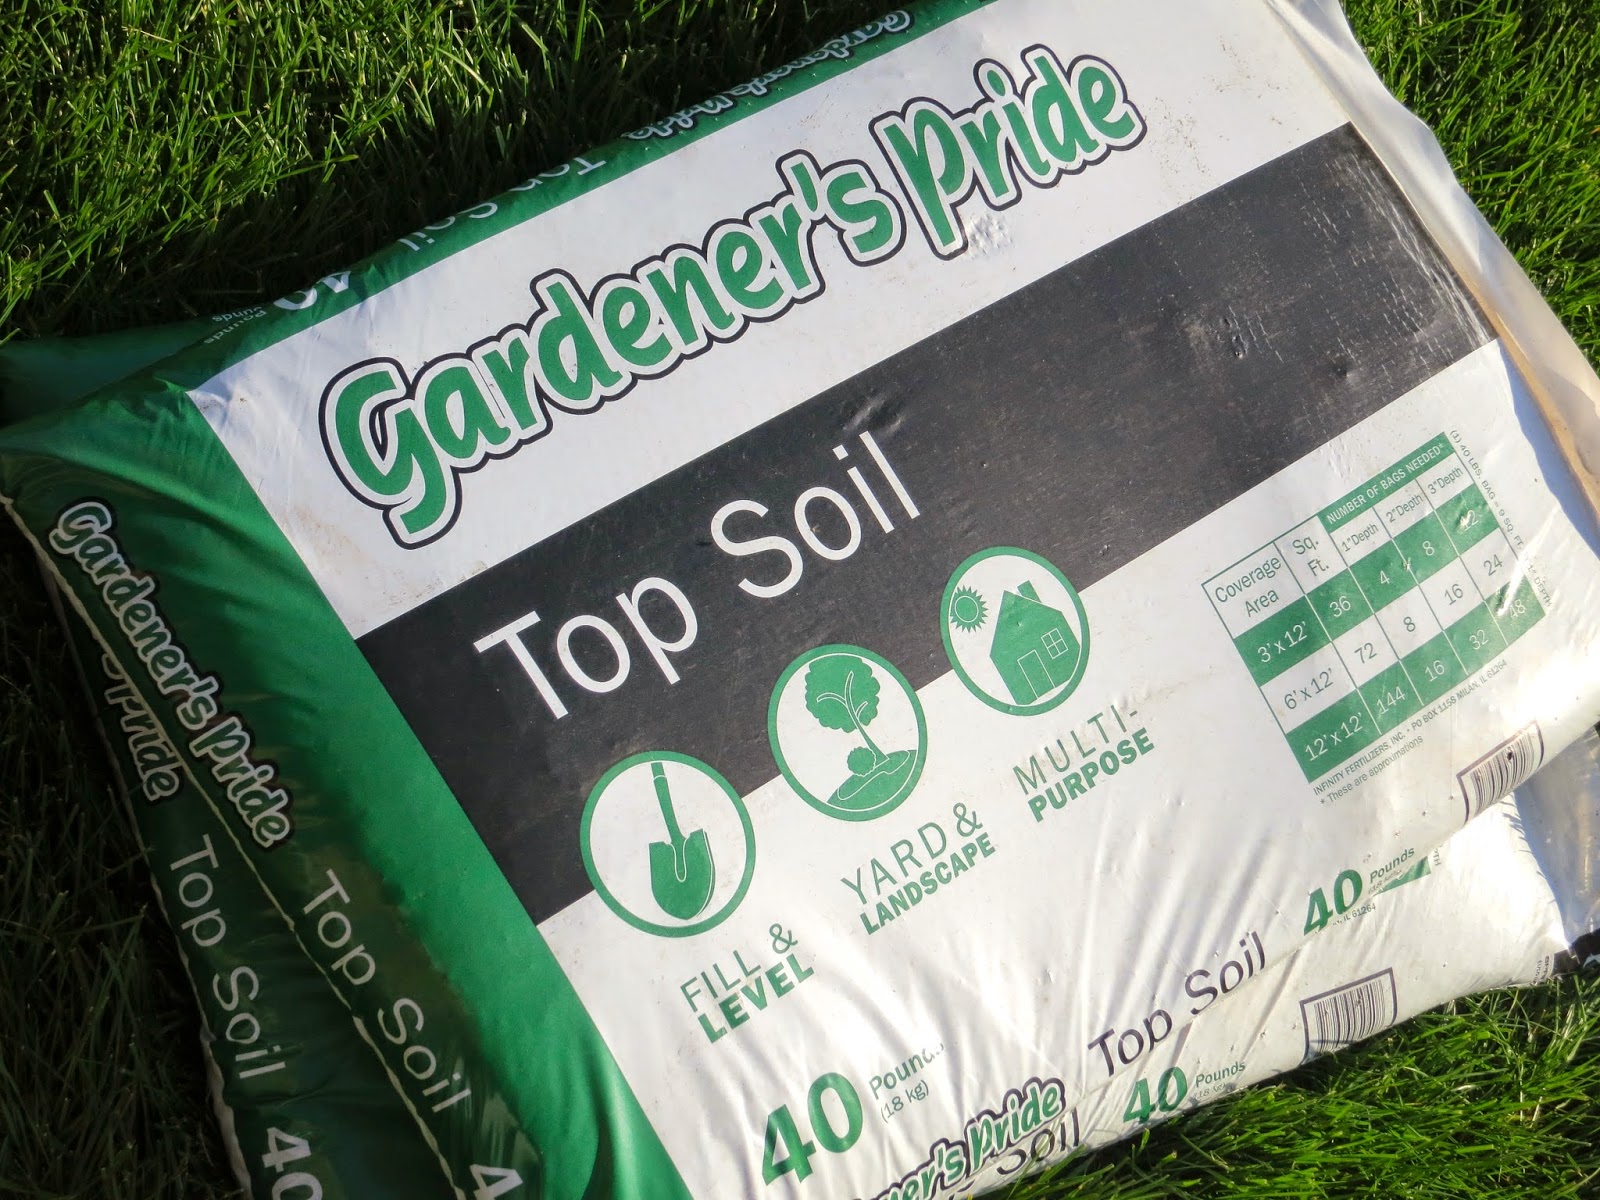
At the end of last month, we bought pavers. 325 twenty-pound pavers, to be exact. Our goal? Lay a paver patio by ourselves. Creating this patio was a daunting task. We had to carefully mark out the dimensions, remove excess dirt, level the space with the hand tamper, pour sand, level the space again, then lay the paver base. We went with this new product, rather than 4 inches of gravel. {Pretty cool!} All of this prep had to be completed prior to actually laying the pavers.

We did the prep work on Friday 5/23 & Saturday 5/24, then took a break on Sunday for church & family cook-out festivities. The hardware store had been keeping our pavers to deliver at our ready - what a lifesaver! We called & scheduled delivery for Monday 5/26, Memorial Day morning. That day, we each essentially moved 6,000 lbs of rock in 4 hours - FIST PUMP! Andrew carried pavers from the driveway, through the garage, to a pallet in the backyard, where I picked them up & placed them on the paver base. Once I completed that giant puzzle, we added landscape edging & extra soil to build up the perimeter. Polymerized sand was our last task. This stuff gets swept into the cracks and hardens in 72 hours so that the patio is one cohesive, strong unit; and you can no longer pick out where each individual paver is located. We'll be putting grass seed on the dirt areas so that eventually the grass will meet the patio seamlessly. The patio measures 12 x 17 feet.


Yesterday we got a {great} patio set ~ two chairs, a bench & a table. We are so anxious to set it all up and host company. As far as finishing touches go, we'd like to put in a 6 x 8 foot privacy fence by our lilac bush & add some large planters with assorted ferns, grasses, and annuals. I want to screw hooks & hanging lanterns to the fence - cozy outdoor lighting for when the sun goes down! Our muscles are definitely sore, but we are really happy with our new patio! Special thanks to Randy K for help with leveling & prep.

>>>Check in with us after a bit for the FINAL REVEAL<<<


Phase III of our backyard project is replacing our deck. We're guessing it is probably as old as the house {20ish years} so it has led a good life. But alas, a new one will be born soon! We plan to enlist the help of Andrew's dad & a family friend for the job. After lugging all those 20 lb. pavers around just the two of us...we feel we are ready for any challenge!

{PS: Update on the traveling garden...it's been 3 weeks and nothing has sprouted. To quote Andrew, "I have low hopes for those things!" You win some, you lose some!}

Tuesday, May 6, 2014

Traveling Garden


Today I made a tiny traveling garden.

I've been really anxious to plant, but we're waiting until the end of the month to do anything major {such as plant our veggie garden}. In the meantime, I thought this would be fun to try. I saved empty toilet paper rolls for my project & bought seed packets at Home Depot - sweet basil, cilantro, lavender & canterbury bells. The last two are mostly to be pretty/add some color.

I cut each roll in half, then bent the flaps in to make a cup. It may take a week {or two or three} for them to start... that is if they even start at all…I've never done this before so it could lead to failure. Worth a shot though! To keep track of which seeds are in what cup, I labeled them. Next I added the soil and seeds. At this point in time, I decided I needed to put all of the cups in the same container so they could travel around as a unit. I checked our recycling and picked an empty egg carton to do the job. To finish up, I watered the cups & set them in the sun. Hopefully they will sprout, eventually!


Thanks for reading! Time will tell if this is a success or failure...

Phase I - Raised Garden Bed

The weather was decent over the weekend, so on Saturday we built the frame for our raised garden bed.  Phase I of Farber Backyard Update is almost complete! It's a 4x8 foot rectangle made of cedar wood, which is naturally resistant to rot. The sides are 12 inches tall. We cut two sheets of metal mesh for the bottom {to keep digging critters out} and the 6 support stakes extend past the frame and into the ground for stability. I also planted a 4 foot arbor vitae & 5 day lilies near the garden bed on Sunday. We still have some more minor landscaping to do around it, but for now we're just glad to have the frame in place, ready to hold some dirt. We look forward to planting our garden sometime after Memorial Day weekend. Here are some pictures of our process:


Sunday, May 4, 2014

Now & Then: Front Landscaping Update


Knowing we planned to get married Andrew and I started house hunting while we were dating. My favorite style of house is a two story colonial with a red front door, so Andrew likes to joke that he knew he was "doomed" when we first pulled up to this one. All kidding aside, given the chance to choose again, he would still absolutely pick Old Elm.
We had seen a handful of other homes in the area, and so far nothing clicked as our favorite. We wanted a location close to grocery stores and highway access, with a decent yard and plenty of bedrooms. We were willing to use a little elbow grease to get any potential house in shape as long as it had good bones. Some of the houses we saw were totally creepy. One had a Budweiser can in the fridge from 1996. {We did not drink it!} Old Elm caught my eye in the ads, so I circled it along with ten others to show our realtor. The ad said there was an open house on Sunday, which is when we first fell in love. We promptly called our realtor to set up a viewing with him along as a third opinion. He agreed that the house was great and wouldn't last long on the market. We had to act fast! We wrote up an offer, and within a week - after some counter-offering - we signed the papers. {Hello homeownership!} It was an exciting time.
The house was immaculate. The previous owners were outstanding caretakers, and there really weren't any immediate changes to make other than cosmetic fixes. Repainting, new lights, updated fixtures, you get the idea. Andrew moved in right away while I stayed living at my parents until our wedding. Despite the fact that I loathed driving home {and away from him} every night after dinner during our 1.5 year engagement, this worked out really well in hindsight. By the time we were married & I moved in, we had all of the major indoor projects out of the way.

We're still working on things! With the arrival of nice weather, we have shifted gears from indoors to the outdoors...landscaping! The front landscaping was in bad need of some TLC when Andrew moved in. We contemplated just trimming back what was already there, but a few days into that & some bizarrely shaped and colored shrubs later....we came to the conclusion that we'd rather rip it all out and start anew. After all, we plan to live here for quite some time. Why not start from scratch & do it our way? So that summer we ripped everything out, tilled, and came up with a new plan. Our friend Scott, who used to own his own landscaping business, helped us pick shrubs & plants that would thrive in our North-facing lawn. To the left, we planted 4 azalea, 3 seedum, 3 gold mop cypress, and 3 ornamental grasses. We established boxwood hedges on either side of the stoop, and laid a decorative slate wall in front of each. {Sidenote: boy, did Andrew have a fun time hauling around 1500 pounds of rock! Memories...} At the end of the wall on the right, we planted 3 knockout rose bushes. To save money we didn't buy the biggest shrubs available - knowing that in just a matter of years everything would mature and achieve more width & height. After this, we took a nice long vacation from all things landscape. We were pooped!
Months later - after things settled into the ground & we surveyed the scene with rejuvenated eyes - we decided we needed to add a few more elements that would offer height. So this Spring, we purchased two boxwood topiary & two evergreen arbor vitae to add into the mix. The boxwood live in planters on the front stoop and the arbor vitae are on either side of the garage. The taller of the two measures 10 ft and has been cut into a spiral. We're told this isn't too difficult to maintain. The other is a 6 ft tall, typical cone shape. We were pumped! These were just what the doctor ordered to seal the deal on our landscaping.
We are tossing around the idea of removing the screen door and getting an updated front door, as well as new lights for the stoop & garage. What do you think? As for now, we only need to plant ground cover in front of the right wall and maybe add some annuals here & there. I'm waiting until there is for sure no chance of frost around these parts. You never can tell!

The "Now" photo is on the left, "Then" is on the right. Thanks for following along. We like working hard & admiring the results. Our sights are now set on the back of the house. We just got pavers this past weekend...patio will be born soon!

PS: Andrew also added our house number above the front door. This is definitely one of the quickest & easiest ways to get some curb appeal on the cheap. He did a great job!

Keep plugging away at your projects, DIYers!

Thursday, May 1, 2014

Canvases...lately

Hello readers! Just wanted to quickly share two of my recent paintings. The first is a birth announcement canvas for my friend's daughter:


The second is also for a baby, so I guess it's baby season! Fun fact, my mom is the one who taught me this poem. Although I don't have any kids of my own, I always like passing it along to expectant mothers:

"Cleaning and scrubbing can wait 'til tomorrow
for babies grow up, we've learned to our sorrow.
So quiet down cobwebs, and dust go to sleep,
I'm rocking my baby and babies don't keep"

That's all for now. I hope everyone is having a good week!