Tuesday, March 25, 2014

Floating Shelves


Hi everyone! This past Friday, after flipping through the {many} projects in my mental rolodex...Andrew & I picked one out to do together: Floating Shelves in the bathroom. Our inspiration came from here and here. Totally do-able over a weekend. We measured & planned Friday night {while tuning in to March Madness games...I actually care this year because I made a bracket!} On Saturday after breakfast, we got to work.

HOW WE DID IT


  • We drew up a schematic and Andrew calculated how much common wood we would need to buy & what would need ripped
  • We cut everything to size with our Craftsman miter saw - it rocks
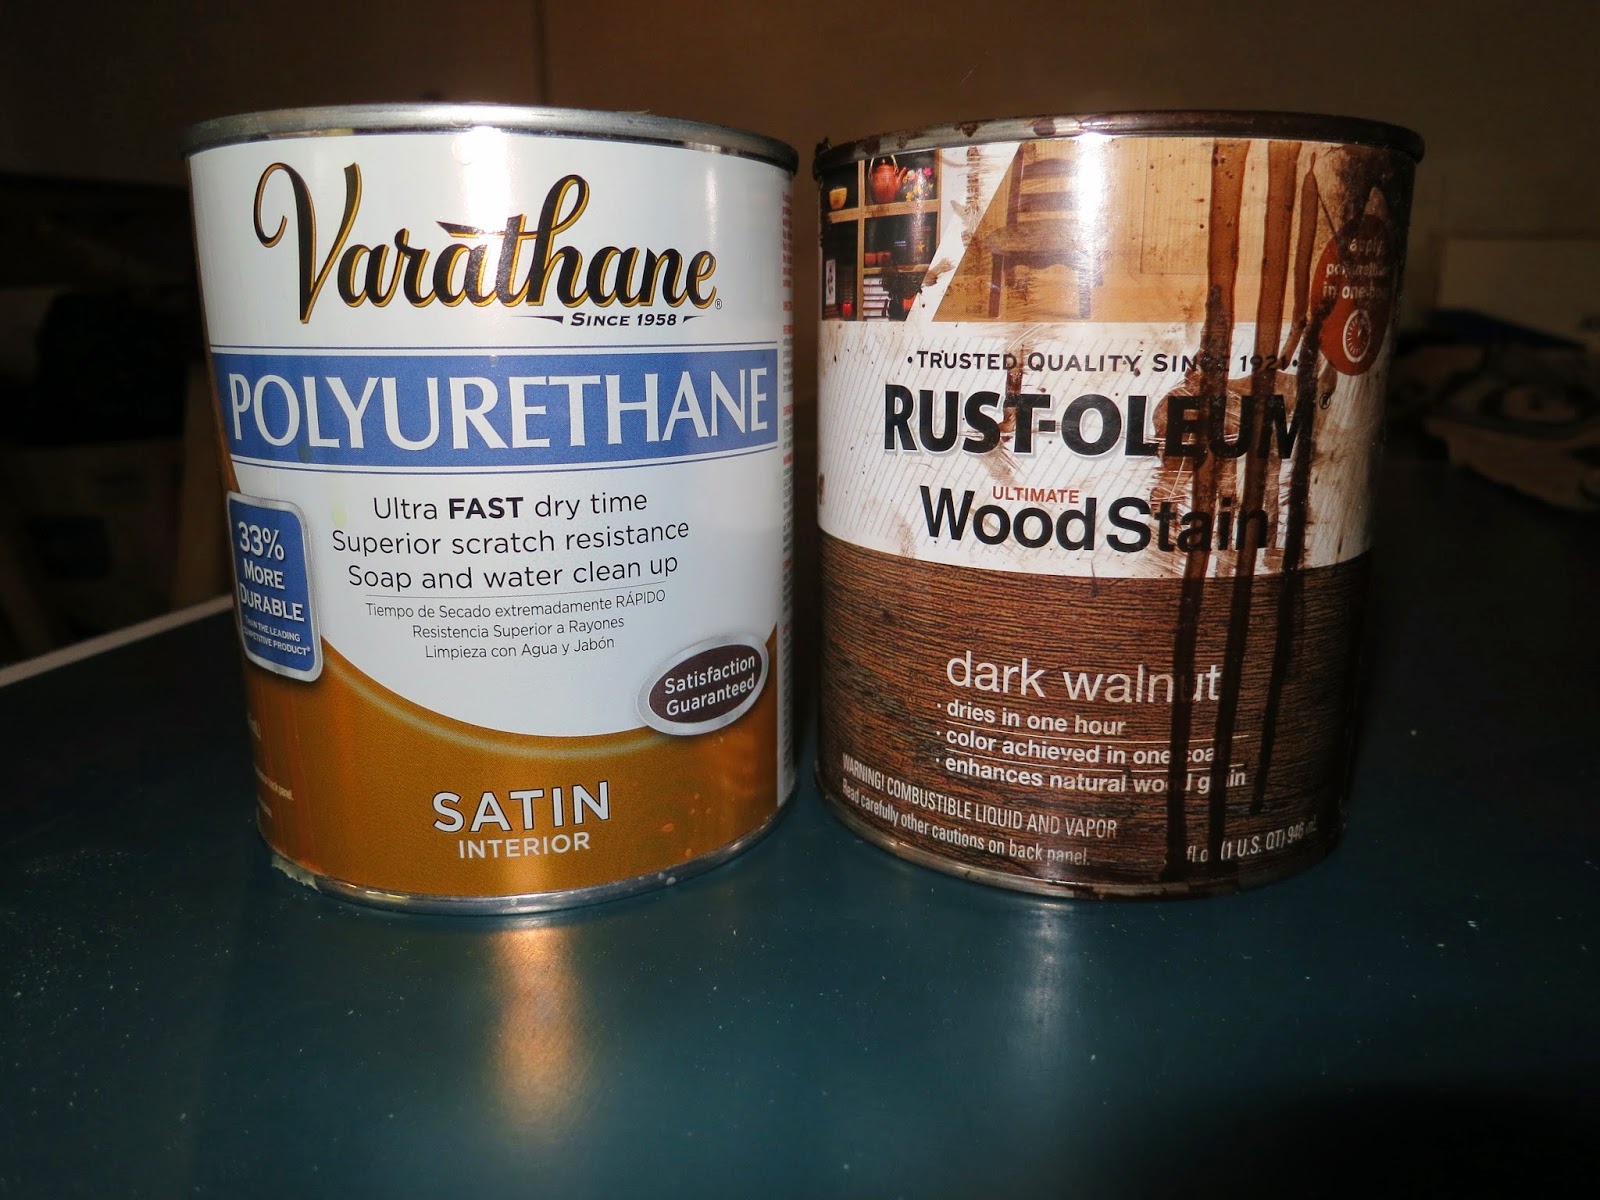
  • The visible parts of the shelving were stained with Rustoleum, then a layer of Varathane polyurethane
  • After the inner support beams were cut to size, we fixed them to the inner frame with wood glue
  • When they were dry -approx 30 minutes- we screwed them into the studs {BONUS!} they were level!
  • When the stain & poly on the outer shelving was dry, we glued the top & bottom pieces to the frame with wood glue and clamped them in place to cure 
  • Lastly, we glued the front facade on to the existing frame to cover up the inside {we used the air nailer on the sides for added support}
  • Final touch? DECORATING!

PICTURES OF THE PROCESS


This project wasn't too difficult, and it made a big impact in an otherwise boring spot. I'm seriously a glutton for punishment, because success like this only makes me hungry for more! My mental rolodex is dangerous. I'm sure Andrew hates really respects it.

It goes a little something like... repaint the fireplace, build a custom closet for Andrew, re-do the deck, paint the picnic table, refinish antique dresser for our bedroom, make a "mudroom" by the garage door, brick the front stoop, establish raised garden beds, make a breakfast nook in the kitchen, paint the banister

What parts of your home could use a little sprucing up?

Keep creating DIYers!

Friday, March 21, 2014

Thanks!

 
As of this minute, this blog has reached
1,000 page views!
 
I'm having a lot of fun keeping track of our DIYs with this thing {and I think Andrew is too} We appreciate those who are reading along & commenting. We are learning as we go, and having a good time as usual.
Thanks for joining! I literally have tons of DIYs rolling around in my head. Stick around and tell your friends to tune in! I have a feeling that when the warm weather finally (eventually?) hits NE Ohio & I can be chopping, nailing, and staining wood in my yard, I'm going to become an unstoppable force of creativity!
 
As always, keep creating DIYers!

Sunday, March 16, 2014

Custom Canvas Birth Announcement


Hello! This type of project is one of my favorites and it gives me great {hand lettering} practice. My paintings have virtually endless possibilities - just tell me what you the canvas to say, and I can paint it! Most recently, Andrew's cousin approached me to paint a birth announcement for her son. She showed me a picture of something similar online, and I got to work.

Before creating, I need to know:
  • canvas size
  • color scheme
  • text/quote 

From that point on, I refer to any picture(s) I have been given for reference and add whatever creative touches I see fit. Because these are made by hand, I can't offer a "proof" if I am making a painting for someone else {I usually just make these for myself, friends & family}.

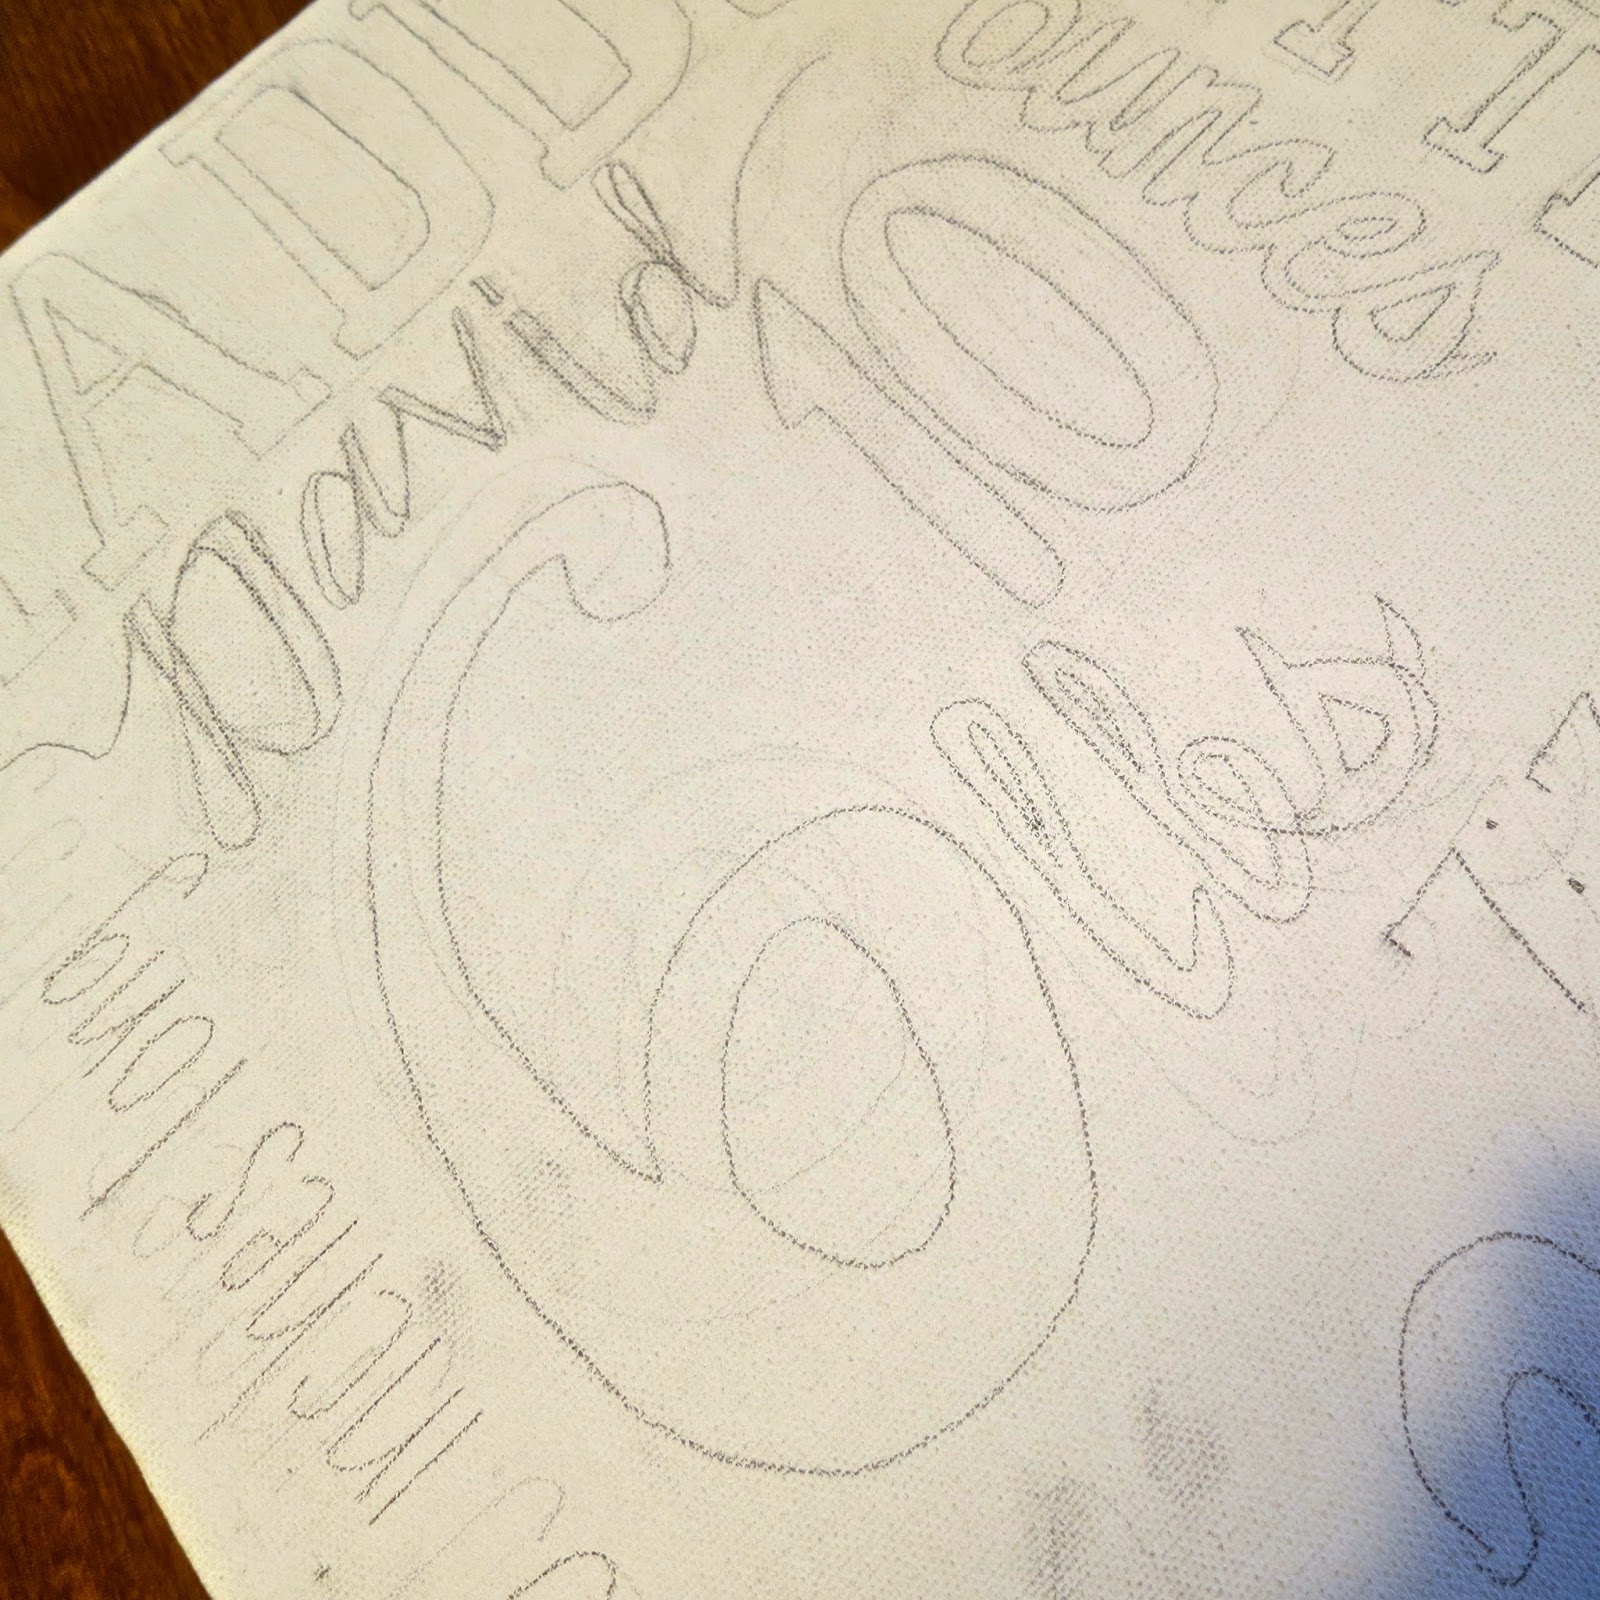
I begin by pencil sketching the lettering. This part covers my work surface in eraser shavings until I get everything just right. When I am satisfied, I move on to painting. My medium of choice is acrylic paint. It's very flexible, forgiving of mistakes, and dries to a semi-firm plastic. It's also a thicker consistency that doesn't run or bleed, and colors can be blended easily.

Painting is the most time-consuming portion of the process, and I use many different sized brushes to achieve a clean look. To preserve the canvas for years to come, I always seal my work with Liquitex matte or glaze varnish.

Here are some photos of the the process:


Due to the fact that I work full-time, I'm unable devote my entire schedule to this sort of thing {Maybe someday…} I typically work on painting in the evenings/on weekends. I find it especially relaxing & therapeutic to paint after a long day at the office, and while enjoying a cup of tea! Talk to me if you want to learn more!
 
Keep creating, DIYers!

Saturday, March 15, 2014

Wall Mount Monogram


I have an obsession with monogramming things, which my husband doesn't understand. HOWEVER! I saw this terrific idea on Pinterest, and decided to take my own spin on it. Bonus! It earned the lucrative husband seal of approval.


This hunk of wood was laying around my house {from damaged merchandise my sister couldn't sell in her shop} so instead of using a ceiling medallion or picture frame as the idea from Pinterest suggests, I decided to use this. The wooden rectangle & the letter F are from the craft store. The burlap I had, but you can pick that up anywhere these days because it's trendy. My project was completed as follows:


I covered the wooden rectangle in burlap & secured it with staples.
{Just a regular office stapler, because I'm fancy}


Next, I fixed it to the frame with Gorilla Glue and set it aside to dry 
{with a heavy box on top because the glue expands as it dries}


Meanwhile, Andrew trimmed wood off the bottom of the F that we felt 
was sticking out too far, and because it was in rough shape I re-painted it white with acrylic. 


After everything had dried, I used Gorilla Super Glue to place the monogram on the burlap.  
My frame already had hanging hardware on the back, so it was a snap to put on the wall. 
{Buying a picture hanging kit that includes frame mounts would work, too}


We hung our monogram along the stairs leading up to the second floor of Old Elm.


Mixing textures, utilizing old + new items, and putting your personal touch on a project makes a unique, cozy statement piece for the home.  If you've ever done a similar project, or have any questions about mine, don't hesitate to ask and we can collaborate!

Keep creating, DIYers! 

Tuesday, March 11, 2014

Rustic Chalkboard Charger


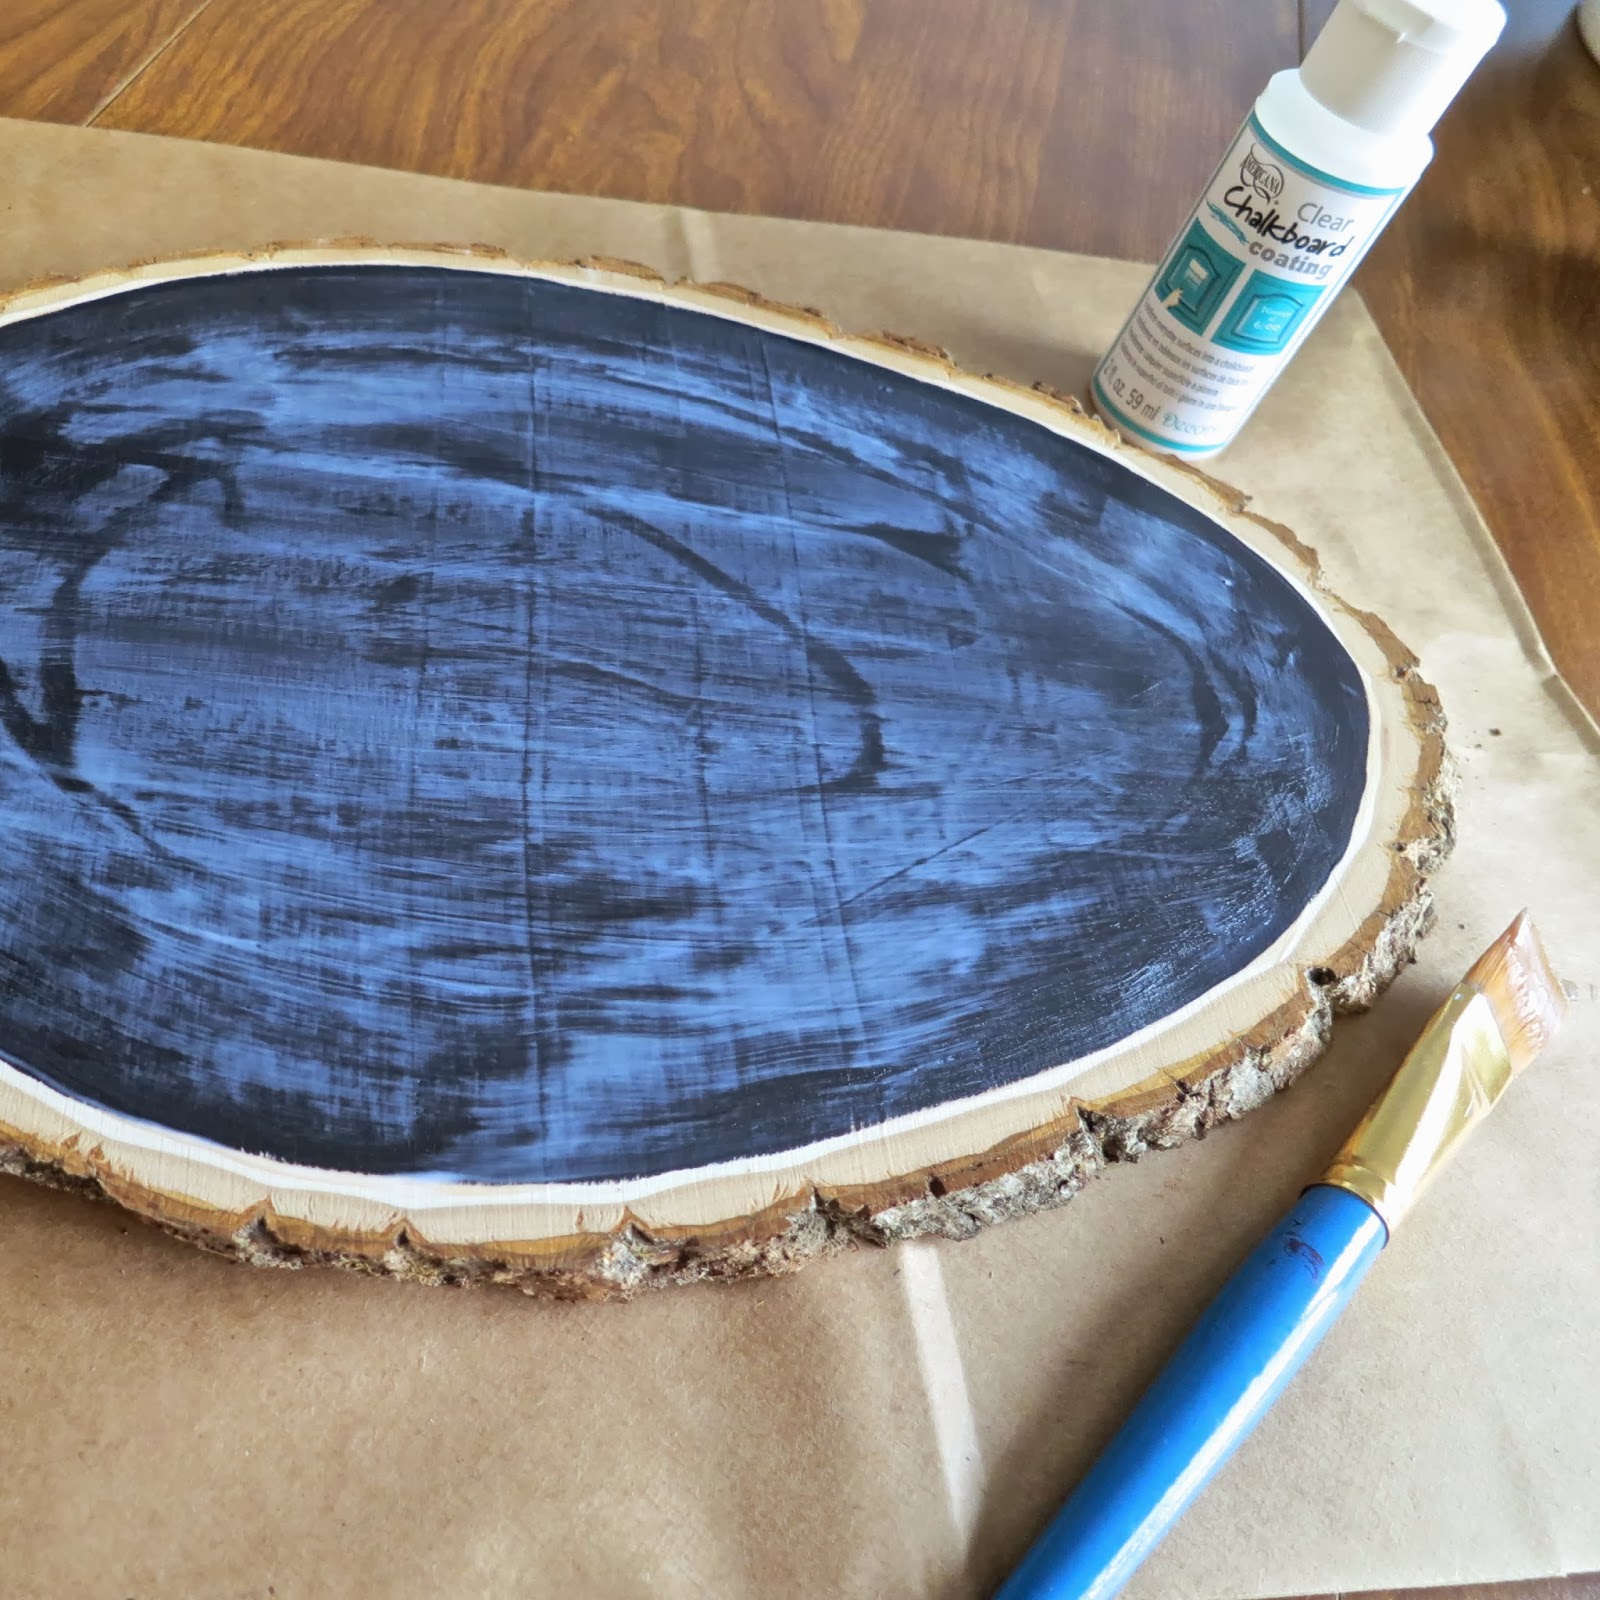
This is a very easy project that anyone can do. I got the supplies at my local craft store: a slice of wood, black acrylic paint, and clear chalkboard paint. {The wood is about the size of a dinner plate} I painted one coat of black acrylic, let it dry, then applied the clear paint the next evening per the directions on the bottle. As you can see in the photo, it goes on visible. But true to form, it dried clear. You can speed up this process by just buying black chalkboard paint… my store was out, and I didn't want to use a bright color. This is really very simple, and a fun project that can be completed in just a few short hours. So there you have it, a cute little item to spice up your appetizer spread at parties - for under $10!