Sunday, May 4, 2014

Now & Then: Front Landscaping Update


Knowing we planned to get married Andrew and I started house hunting while we were dating. My favorite style of house is a two story colonial with a red front door, so Andrew likes to joke that he knew he was "doomed" when we first pulled up to this one. All kidding aside, given the chance to choose again, he would still absolutely pick Old Elm.
We had seen a handful of other homes in the area, and so far nothing clicked as our favorite. We wanted a location close to grocery stores and highway access, with a decent yard and plenty of bedrooms. We were willing to use a little elbow grease to get any potential house in shape as long as it had good bones. Some of the houses we saw were totally creepy. One had a Budweiser can in the fridge from 1996. {We did not drink it!} Old Elm caught my eye in the ads, so I circled it along with ten others to show our realtor. The ad said there was an open house on Sunday, which is when we first fell in love. We promptly called our realtor to set up a viewing with him along as a third opinion. He agreed that the house was great and wouldn't last long on the market. We had to act fast! We wrote up an offer, and within a week - after some counter-offering - we signed the papers. {Hello homeownership!} It was an exciting time.
The house was immaculate. The previous owners were outstanding caretakers, and there really weren't any immediate changes to make other than cosmetic fixes. Repainting, new lights, updated fixtures, you get the idea. Andrew moved in right away while I stayed living at my parents until our wedding. Despite the fact that I loathed driving home {and away from him} every night after dinner during our 1.5 year engagement, this worked out really well in hindsight. By the time we were married & I moved in, we had all of the major indoor projects out of the way.

We're still working on things! With the arrival of nice weather, we have shifted gears from indoors to the outdoors...landscaping! The front landscaping was in bad need of some TLC when Andrew moved in. We contemplated just trimming back what was already there, but a few days into that & some bizarrely shaped and colored shrubs later....we came to the conclusion that we'd rather rip it all out and start anew. After all, we plan to live here for quite some time. Why not start from scratch & do it our way? So that summer we ripped everything out, tilled, and came up with a new plan. Our friend Scott, who used to own his own landscaping business, helped us pick shrubs & plants that would thrive in our North-facing lawn. To the left, we planted 4 azalea, 3 seedum, 3 gold mop cypress, and 3 ornamental grasses. We established boxwood hedges on either side of the stoop, and laid a decorative slate wall in front of each. {Sidenote: boy, did Andrew have a fun time hauling around 1500 pounds of rock! Memories...} At the end of the wall on the right, we planted 3 knockout rose bushes. To save money we didn't buy the biggest shrubs available - knowing that in just a matter of years everything would mature and achieve more width & height. After this, we took a nice long vacation from all things landscape. We were pooped!
Months later - after things settled into the ground & we surveyed the scene with rejuvenated eyes - we decided we needed to add a few more elements that would offer height. So this Spring, we purchased two boxwood topiary & two evergreen arbor vitae to add into the mix. The boxwood live in planters on the front stoop and the arbor vitae are on either side of the garage. The taller of the two measures 10 ft and has been cut into a spiral. We're told this isn't too difficult to maintain. The other is a 6 ft tall, typical cone shape. We were pumped! These were just what the doctor ordered to seal the deal on our landscaping.
We are tossing around the idea of removing the screen door and getting an updated front door, as well as new lights for the stoop & garage. What do you think? As for now, we only need to plant ground cover in front of the right wall and maybe add some annuals here & there. I'm waiting until there is for sure no chance of frost around these parts. You never can tell!

The "Now" photo is on the left, "Then" is on the right. Thanks for following along. We like working hard & admiring the results. Our sights are now set on the back of the house. We just got pavers this past weekend...patio will be born soon!

PS: Andrew also added our house number above the front door. This is definitely one of the quickest & easiest ways to get some curb appeal on the cheap. He did a great job!

Keep plugging away at your projects, DIYers!

Thursday, May 1, 2014

Canvases...lately

Hello readers! Just wanted to quickly share two of my recent paintings. The first is a birth announcement canvas for my friend's daughter:


The second is also for a baby, so I guess it's baby season! Fun fact, my mom is the one who taught me this poem. Although I don't have any kids of my own, I always like passing it along to expectant mothers:

"Cleaning and scrubbing can wait 'til tomorrow
for babies grow up, we've learned to our sorrow.
So quiet down cobwebs, and dust go to sleep,
I'm rocking my baby and babies don't keep"

That's all for now. I hope everyone is having a good week!

Thursday, April 24, 2014

A Personal Touch for the Master Bath

Hi everyone! This is a project I did for our master bathroom. The best part is how I scored a really good deal on the frames I bought. The second best part is that only took me 10 minutes to do {Personal record!}  Check it out: 


Andrew & I have towel hooks across from the shower in our bathroom. I wanted to put something above each one to signify which is his and which is mine.  I contemplated a few ways of doing this… monograms, baby pictures, or his & hers frames. My project ended up being a spin on the last one. I liked the way that one looked, but I didn't want to glue a frame or letters to our wall. Instead I bought two picture frames (one 4x6, one 5x7) at the craft store, took the glass out of each frame & replaced it with card stock, then glued my little wooden letters to the card stock with an Elmer's glue stick. I contemplated staining the letters, but I ended up keeping them plain because I liked the monochromatic look. 

Because he had texted me, I knew Andrew was just a few minutes from home. I ran up to our bathroom to hang them up. When he walked in the door I came bounding down the stairs to greet him, hammer in hand. His response to my welcome home was: 

"What did you make???"

I wonder what tipped him off…


<<< such a bargain!


Wednesday, April 23, 2014

How to Upcycle Glass Jars


Empty jars from jelly, spaghetti sauce, minced garlic, honey, wine... you name it. Whenever I'm washing one out, something snaps inside of me & I save it instead of putting it into our recycling. {Every time!} The way I see it, why waste a good container for a future craft? Today's $0 Project is about how to remove the sticky labels from your jars so you can upcycle them into something new & fun!

up·cy·cle [uhp-sahy-kuhl]
verb (used with object), up·cy·cled, up·cy·cling.
1. to process used goods or waste material so as to produce something that is often better than the original

Fill a sink with hot water & place your bottles/jars in until they're fully submerged. Add 1 Tbsp dish soap, 2 cups vinegar, and 1/2 cup baking powder {powder, not soda}. After the fizzing subsides, the labels should peel right off the glass. I let mine sit for 2 hours while I was out at the store. If the paper comes off but the glue is still there, I resort to Goo Gone to fully remove the residue.


Now that your jars are label-less, here are some upcycling ideas:

SUGAR SCRUB Sugar + dish soap = homemade sugar scrub.  Click here to fill your jar with this simple {but luxurious!} skin exfoliating DIY tutorial by me. You can experiment with different soap scents and try adding essential oils. It really doesn't get any easier than this!

CITRONELLA CANDLES Melt plain or colored {but scentless} wax chips in a heat resistant bowl over a saucepan of boiling water. Add a few drops of citronella essential oil to the wax. Place a wick in your jar, then pour in the wax. Let the wax firm & you have yourself a cute candle that will repel pests on the patio.

MINI TERRARIUM Fill your jar in this order: rocks, charcoal, potting soil. Then add plants, sticks & succulents. The charcoal helps contain moisture and stave off mold. Looking for things to add? Collect from your yard. {No bugs allowed!}

DRINKING GLASSES Fill your sink with cold water. Soak a string of yarn in nail polish remover & tie it around bottle. Light the string on fire & let it burn for about 15 seconds. {Don't burn yourself!} Dip the bottle in the sink, and the glass will split where the yarn was. This is especially fun to do with bottles that have etched or painted labels that are directly on the glass.

SELF WATERING WINE GLASS PLANT Follow the steps above, but save the top piece. Fill the bottom {cup part} with water. Thread some string through the neck of the bottle so that it hangs out both ends. Put your dirt & seeds in the inverted top piece, then place it on the bottom piece {neck will be facing down}. The string will wick the water up & nourish your plant. Just don't forget to replenish the water supply as needed!

STORAGE Andrew has a few jars near his tool bench with spare nuts, bolts, nails, and screws; I have my own collection in the kitchen for chocolate chips, sprinkles & raw sugar for my tea; and there is a jar on our bathroom counter filled with q-tips & cotton balls. Use glass jars to spice up storage of otherwise boring items!

In short, empty jars = endless possibilities. I plan to do a post on each of these ideas in between all of the Spring DIY we have going on around our house {new back patio, deck & landscaping} Stay tuned & Keep creating! 

What are your ideas for upcycling glass containers?

Monday, April 21, 2014

Homemade Sugar Scrub

Mason Jars. You could practically put {anything} inside of one, give it to me & I would be thrilled. There's just something very classic about it. Another thing I really like? A good, old fashioned handmade gift. Whatever it is, you can almost feel the love that went into the making.

A few years ago I gave these out for Christmas. This Easter, I made Homemade Sugar Scrubs for my mom & aunts. The ingredients are basic & the scrubs were a big hit...packaged in mason jars, of course!

  1. Assemble your supplies: mason jar, sugar, dish soap {I'm using Dawn Cucumber Melon}
  2. Fill your jar 3/4 full of sugar, 1/4 with dish soap.
  3. Stir contents {using a butter knife to do this works for me}
  4. If the scrub seems too thin, add more sugar. If it is too thick, add more soap.
  5. Once you have reached a consistency you like, cap it off & you're all done!


This scrub is a great exfoliator! Use it to remove grime after a day working in the garden, as a nice shaving scrub for your legs while in the tub, or simply a daily hand treatment to soften dry skin. Try different dish soaps for varying fragrance & color. For enhanced skin-soothing hydration, add a few drops of olive oil.

Giving your scrub as a gift? Click here for a cute tag!

Happy scrubbing!

Monday, April 7, 2014

Kool Aid Gift Tags


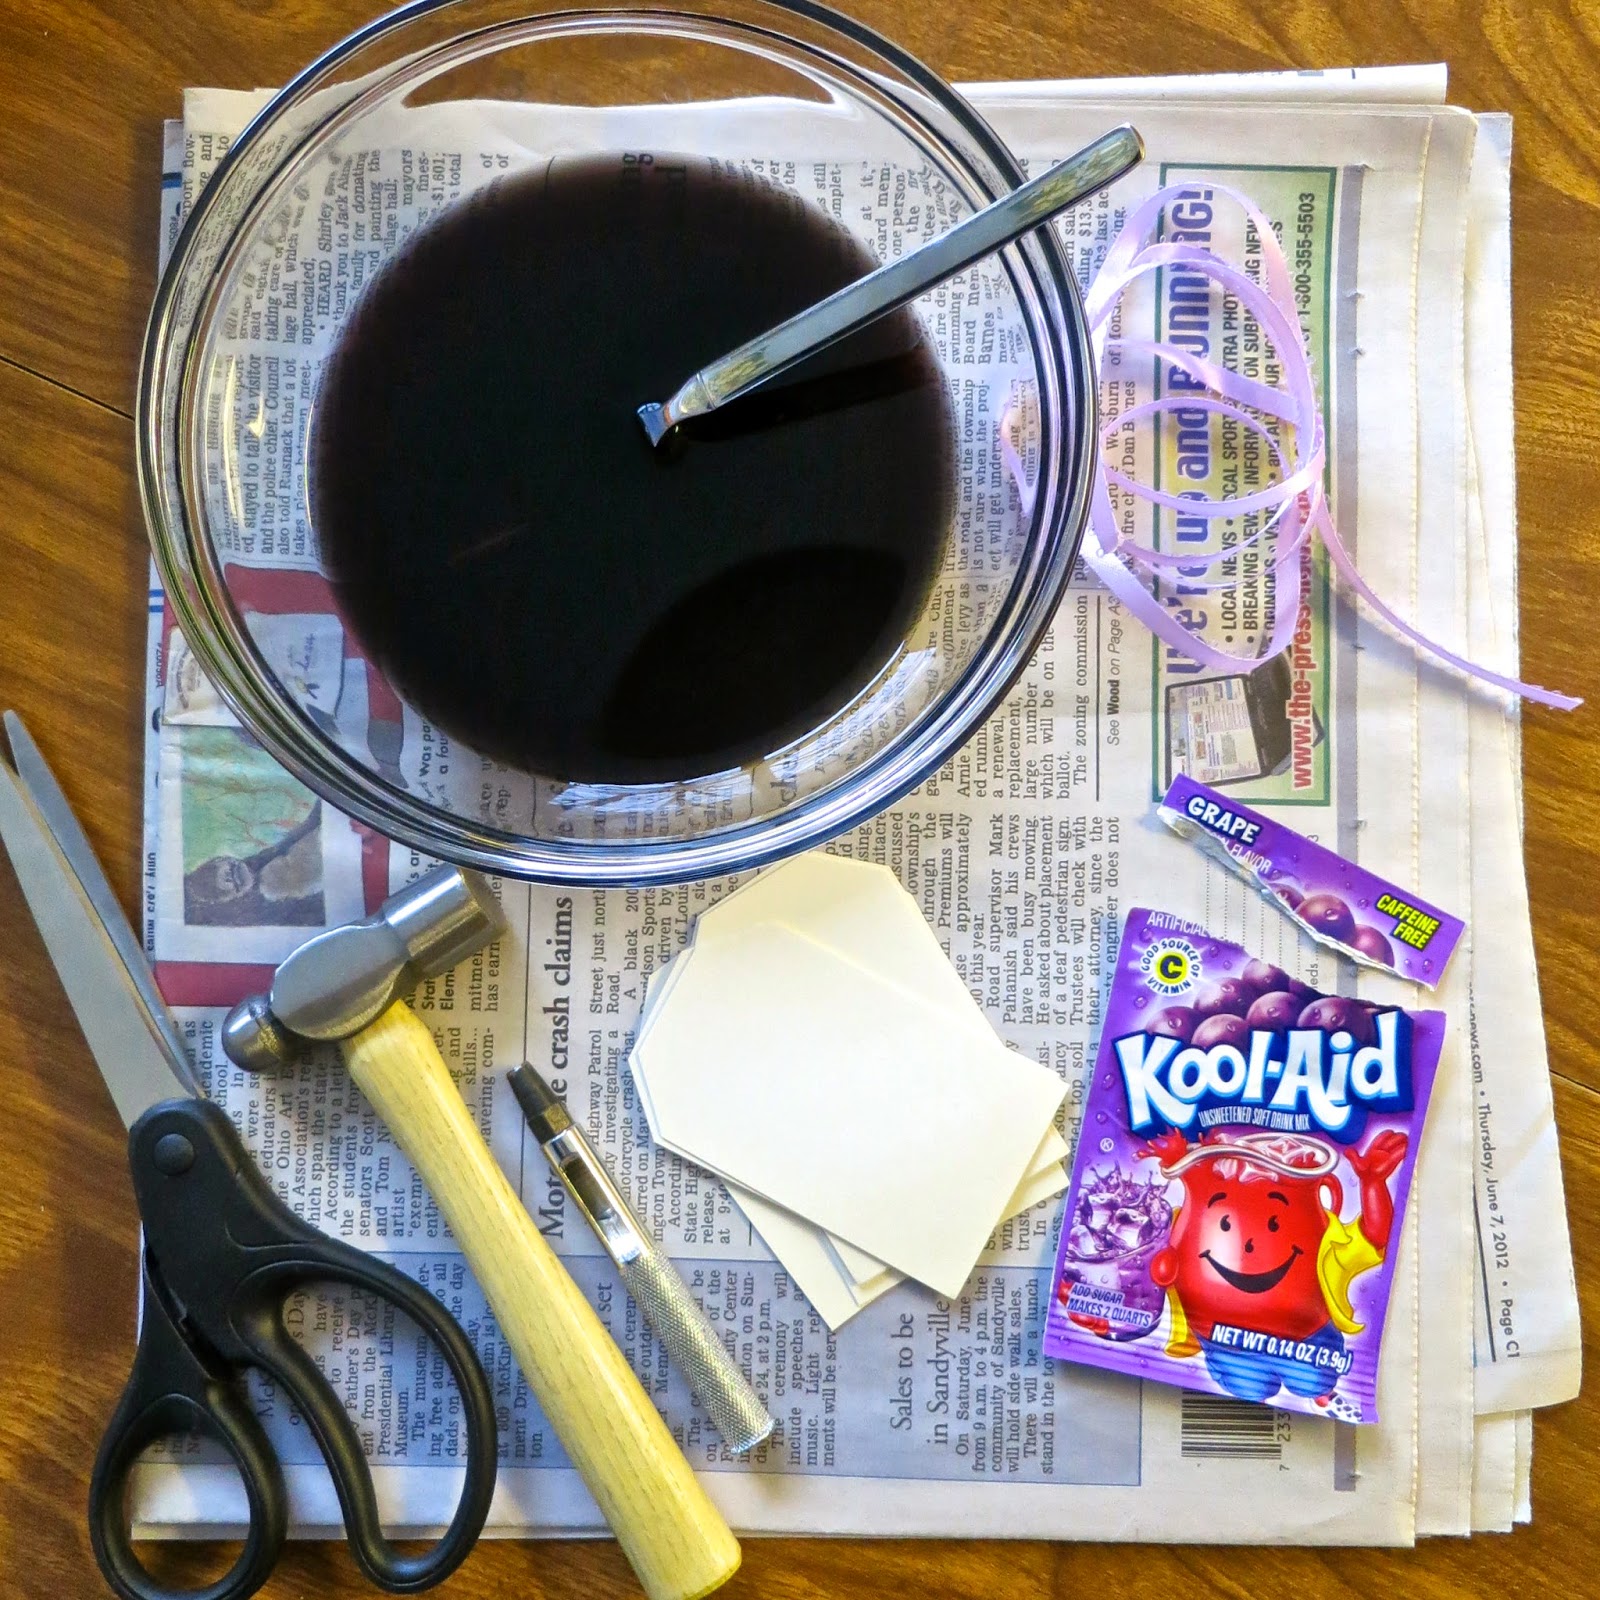
If you have cardstock, ribbon, and packet of Kool Aid... you've got everything you need to make this set of adorable gift tags. No kidding! I used plain cream cardstock cut into 2 x 3 1/4 inch rectangles, looped some purple ribbon through holes I punched in the top, then dipped the bottoms in grape Kool Aid*. Check out pictures of my process below & try it yourself. Have fun experimenting with different flavors colors - they even smell good!


This project took me a total of 30 minutes. At first I was worried because the Kool Aid in the bowl looked too dark, but the color actually went on really light & darkened to a nice shade as it dried. I'm looking forward to using these tags on Easter gifts - the color is perfect for this time of year!

* I didn't add sugar to the Kool Aid {as the package suggests} since I was using it as dye & not a beverage. Just empty one sleeve into a bowl with 6 oz. of tap water
 

He is not here; He is risen, just as He said. 

Matthew 28:6

Thursday, April 3, 2014

Paint Chip Art

Hey! Thanks for joining me here. This is my first post for a new series:

Sometimes I really have the urge to make something, but maybe I can't get to the store or I'm trying to be good & save cash. Enter $0 Projects! If you put your mind to it & get thrifty, you can make some pretty cool stuff using things you already have.

--------------------------------------------------------------------


Known fact: hardware store paint chip samples are free in all 50 states of the U-S-A. What does that mean for you? It means get to the hardware store & start grabbing good colors, because we're about to make some art!

WARNING! When walking out of the store, you may feel like you just stole something. But you didn't! The creative part will soon be underway - getting home and cutting {or paper punching} your chips, then arranging them on paper or canvas.


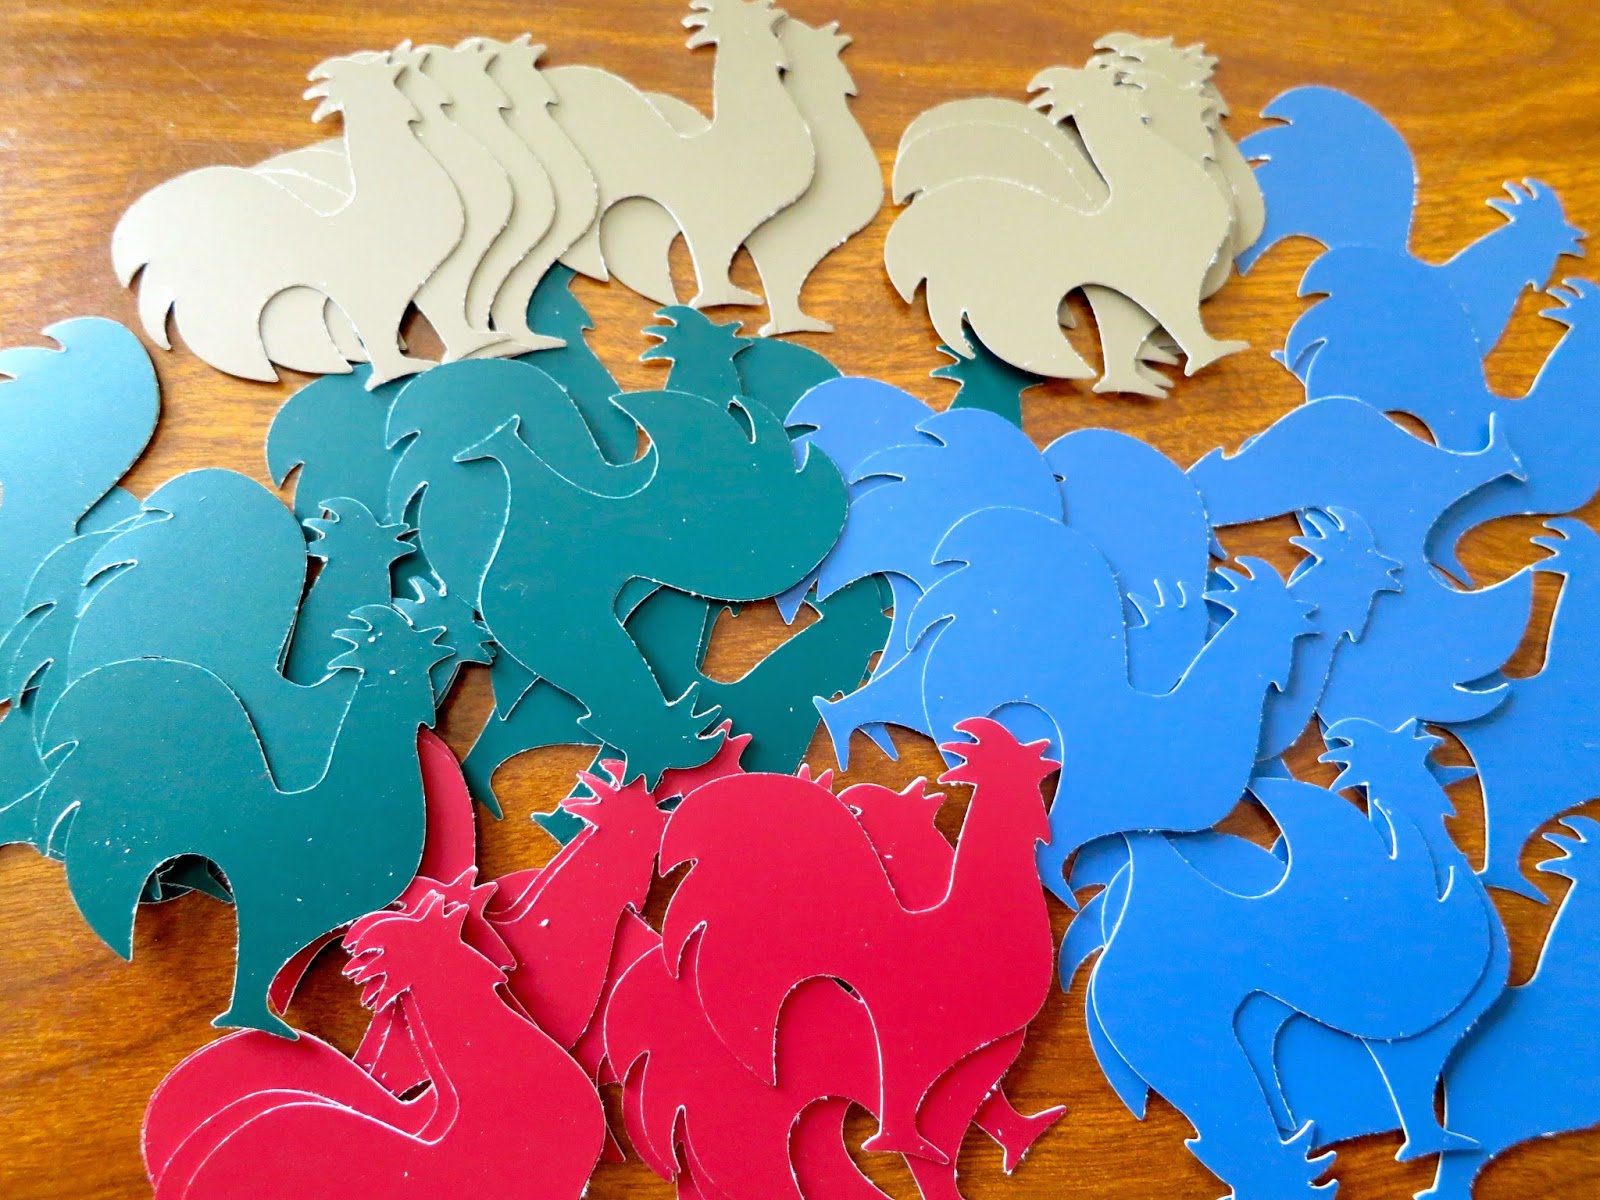
I got this Fiskars paper punch a week or so ago, because I saw it and thought of my sister. She and her husband live on a small farm that is just minutes from my own home. I knew I could make something fun for her with this chicken punch. Don't have a punch? No worries. In the past I have done other projects with paint chips using scissors, pictured at the end of this post*

After you have picked your {free} paint chips out & you're back home, set yourself up at a table and get to punching/cutting. You should probably turn on music or a tv at this point because punching is not that thrilling. I punched 13 chickens of each color. Then I grabbed a 11x14in canvas and began arranging my chickens. When I liked the way things looked I glued them down with an Elmer's Glue Stick. I covered them with a layer of Liquitex matte varnish to prevent them from popping off of the canvas.


Give this a shot! Even if you are someone who doesn't feel super artsy & creative. It's easy to do, and won't cost you a dime. Score! Be sure to click on the $0 Project label on the right hand side of my blog for more costless craft ideas!

*Here are two other paint chip projects I've done: